via Hardhat
Verifying your smart contract using Hardhat allows for automatic verification on the block explorer. This guide shows you how to set up and use Hardhat for contract verification on Watr.
Using Hardhat (Automatic Verification)
Step 1: Install the Verify Plugin
npm install --save-dev @nomicfoundation/hardhat-verify
Step 2: Import the Plugin
In hardhat.config.js:
require("@nomicfoundation/hardhat-verify");
Or in TypeScript:
import "@nomicfoundation/hardhat-verify";
Step 3: Configure Hardhat
Update your hardhat.config.js with Watr network and explorer details:
module.exports = {
  networks: {
    watrTestnet: {
      url: [process.env.WATR_RIVER_RPC_URL],
      accounts: [process.env.PRIVATE_KEY],
      chainId: 92870,
    },
  },
  etherscan: {
    apiKey: {
      watrTestnet: "api-key-not-required",
    },
    customChains: [
      {
        network: "watrTestnet",
        chainId: 92870,
        urls: {
          apiURL: "https://explorer-watr-testnet.cogitus.io/api",
          browserURL: "https://explorer-watr-testnet.cogitus.io",
        },
      },
    ],
  },
};
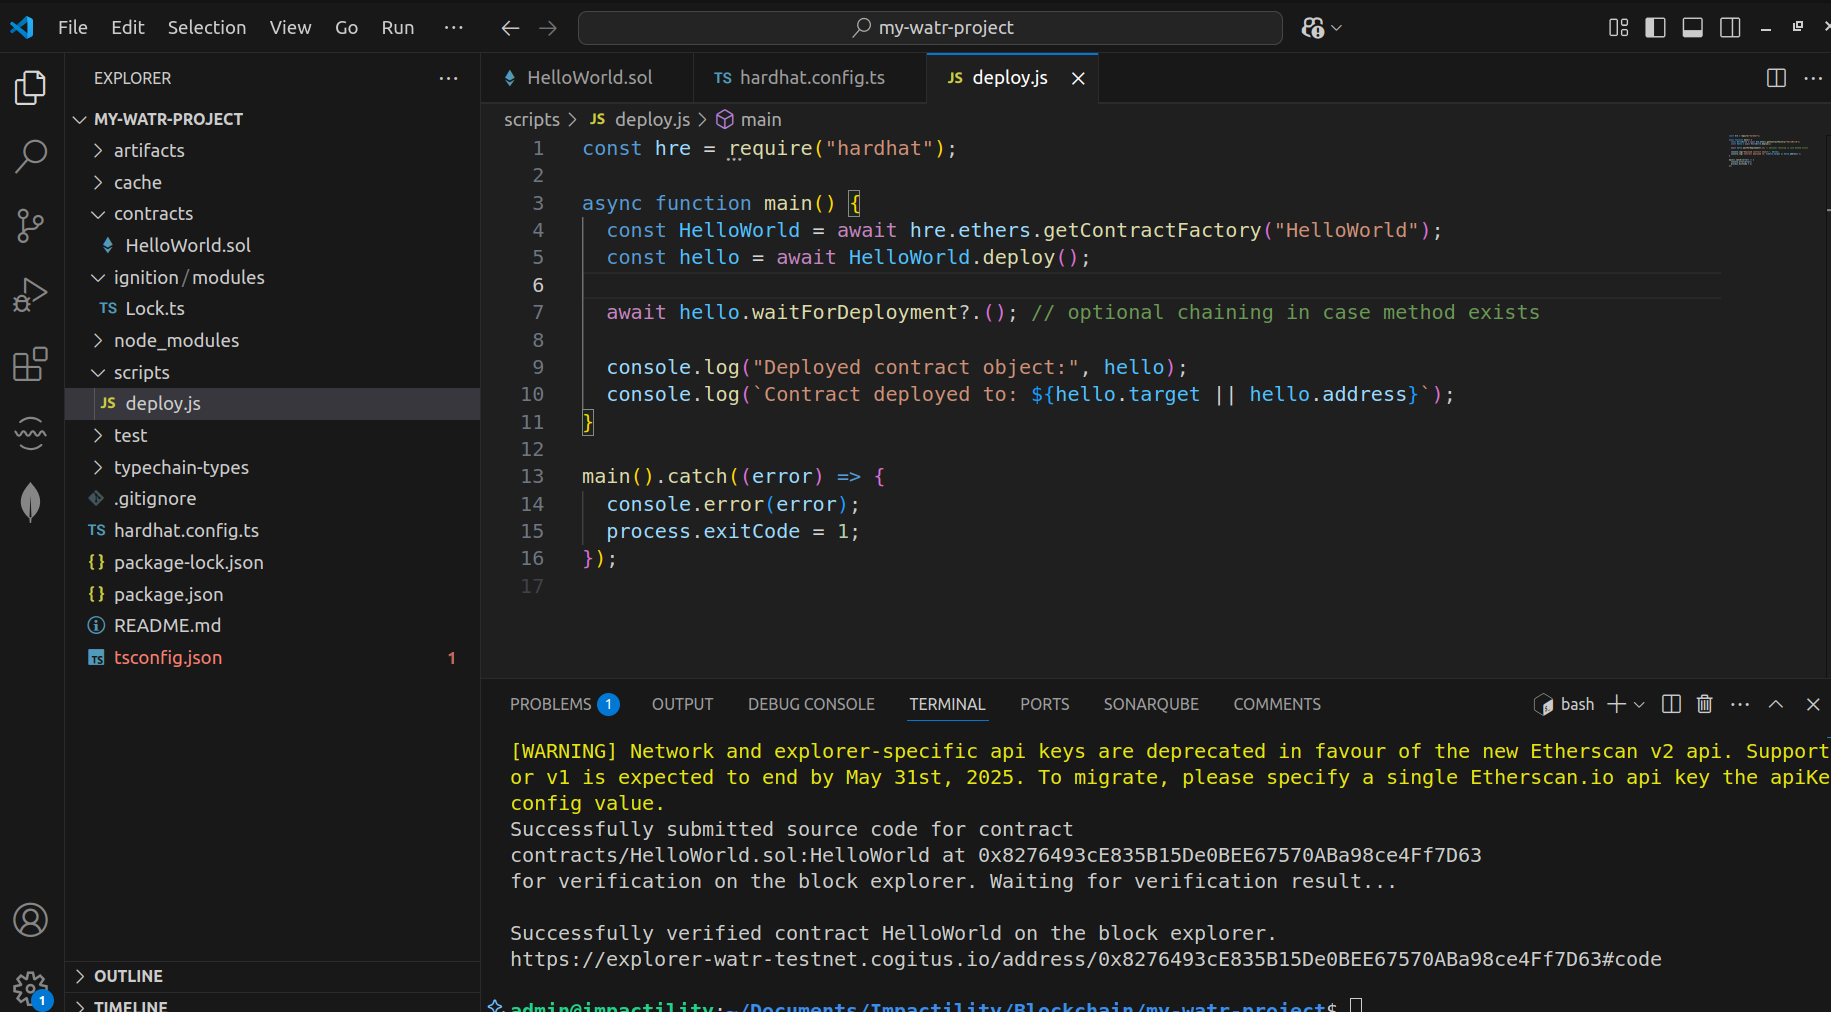
Step 4: Verify Your Contract
npx hardhat verify --network watr-river DEPLOYED_CONTRACT_ADDRESS "ConstructorArg1" "ConstructorArg2"
Example:
npx hardhat verify --network watr-river 0x1234...abcd "MyToken" "MTK" 18
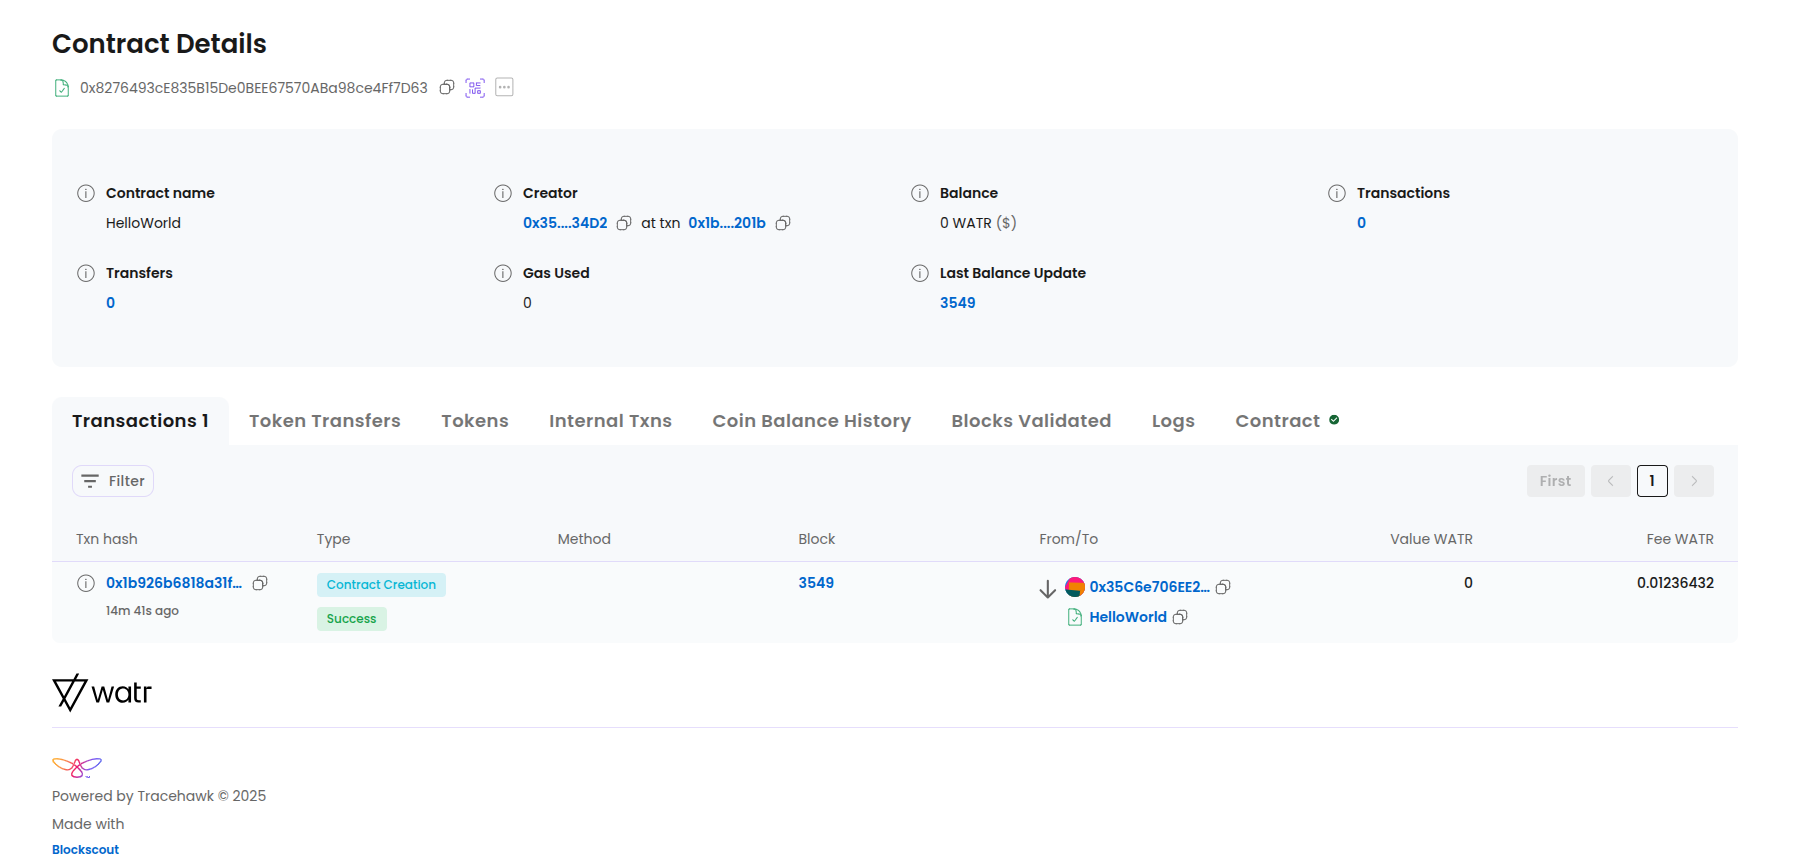
Step 5: Check Verified Contract on Explorer
Benefits of Hardhat Verification
- Automated Process: No need to manually copy and paste source code
- Constructor Arguments: Automatically handles constructor parameter verification
- Error Handling: Better error messages and debugging information
- Integration: Seamless workflow with your existing Hardhat setup
Troubleshooting
Common Issues
- Constructor Arguments Mismatch: Ensure arguments exactly match the deployed contract
- Network Configuration: Verify you're using the correct network settings
- Plugin Installation: Make sure the verify plugin is properly installed
- API Configuration: Check that explorer API URLs are correct
Best Practices
- Always test verification on testnet first
- Keep your Hardhat configuration up to date
- Use environment variables for sensitive information
- Verify contracts immediately after deployment
note
- Ensure the constructor arguments exactly match the deployed contract.
- It may take a few blocks for the contract to appear on the explorer.
- Always verify you are using the correct network and RPC settings.