Encrypted ERC-20 Playground App
What is this EERC playground?
- Encrypted ERC (eERC) lets you use tokens in a private way. Balances and transfers are encrypted.
- It runs on the WATR Testnet (test network, not real money).
- There are two modes in the app:
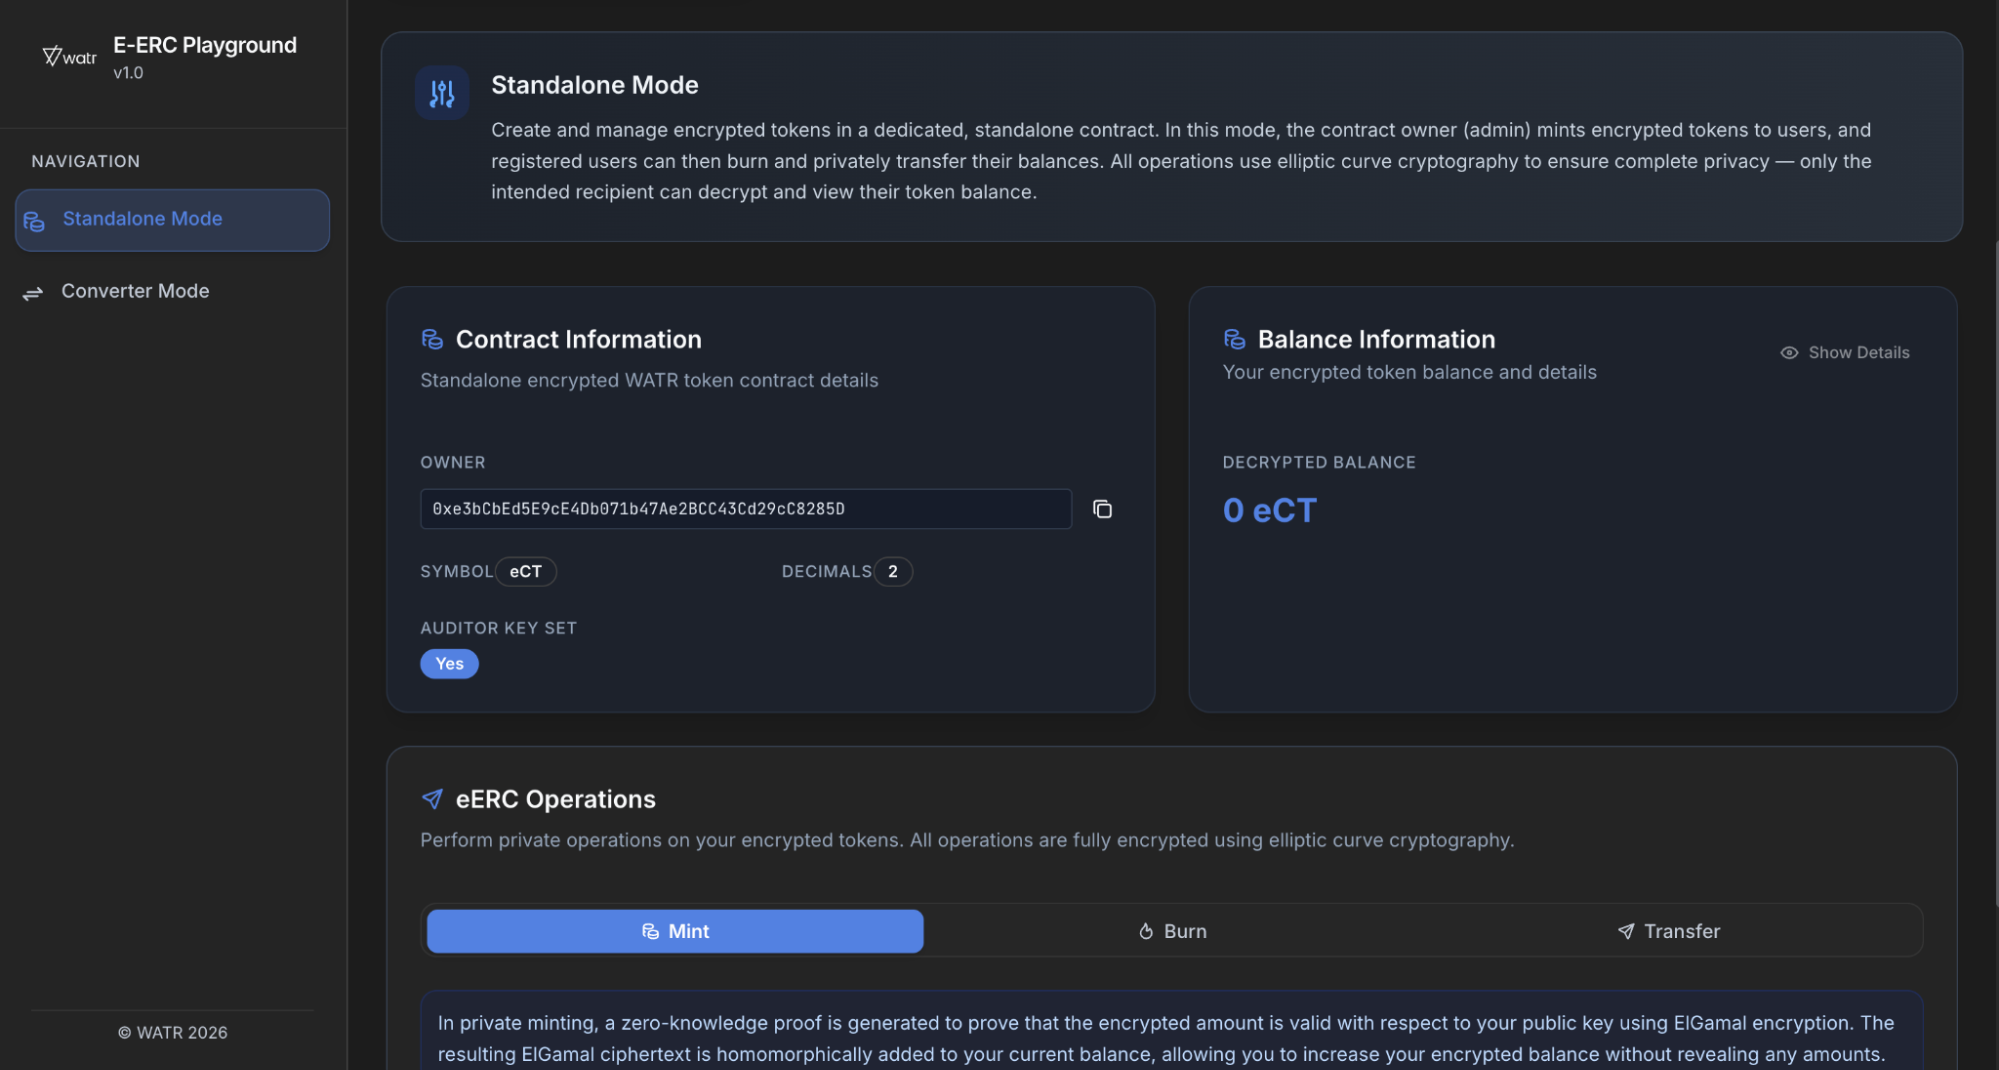
- Standalone mode:
- A fully private token that lives only inside this eERC contract.
- Only the Owner can mint (create) new tokens.
- Other users can receive, transfer, and sometimes burn tokens, but cannot mint.
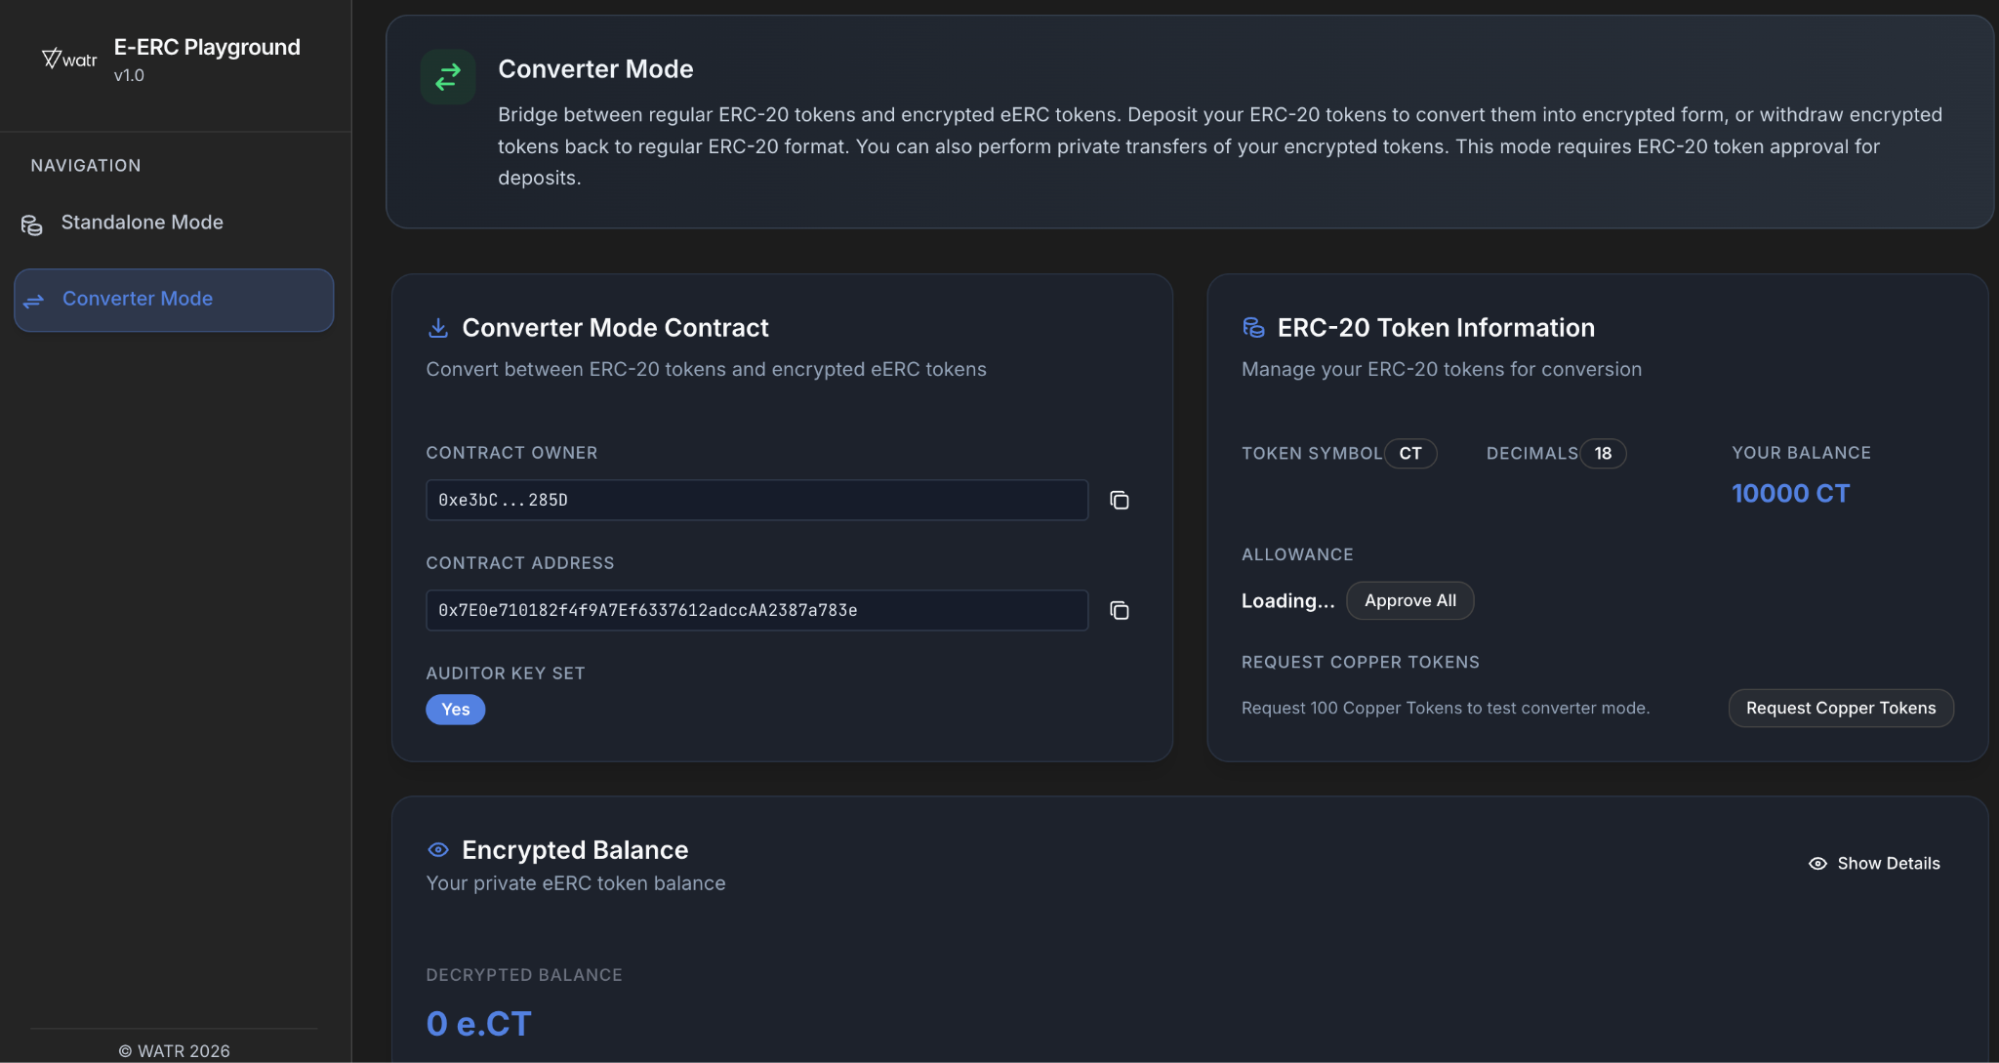
- Converter mode:
- Uses a normal ERC‑20 test token (Copper Token) and wraps it into encrypted form.
- You can deposit ERC‑20 → get encrypted tokens, and withdraw encrypted tokens → get ERC‑20 back.
- Standalone mode:
You can switch between these modes at any time in the UI.
Who are the users?
In this playground we mainly think about two kinds of users:
- Owner
- This is the wallet that deployed the eERC contracts.
- Only the Owner can:
- Set the Auditor Key (needed for both Standalone and Converter contracts).
- Mint tokens in Standalone mode.
- The Owner will have 10,000 tokens available by default after setup.
- Regular user
- Any other wallet that connects to the app.
- Regular users:
- Must register their wallet.
- Must generate a decryption key.
- Can request Copper tokens in Converter mode.
- Can deposit, withdraw and transfer in Converter mode.
- Can receive transfers and transfer/burn in Standalone mode (but cannot mint).
Pre-requisites
Make sure you have:
- Browser: Use a modern browser like Chrome, Brave, or Edge.
- Wallet: Use a wallet supported by RainbowKit (for example MetaMask, Core, Rabby, etc.).
- Network: Your wallet must be on WATR Testnet (Chain ID 92870).
- Gas: Your wallet should have a small amount of WATR test tokens for paying transaction fees.
Let's Play
Connect your wallet
- Open the eERC playground in your browser.
- On the home page, click the Connect button.
- Choose your wallet (MetaMask/Core/Rabby, etc.).
- Approve the connection inside your wallet popup.
When you are connected, you should see your wallet address in the top-right corner.
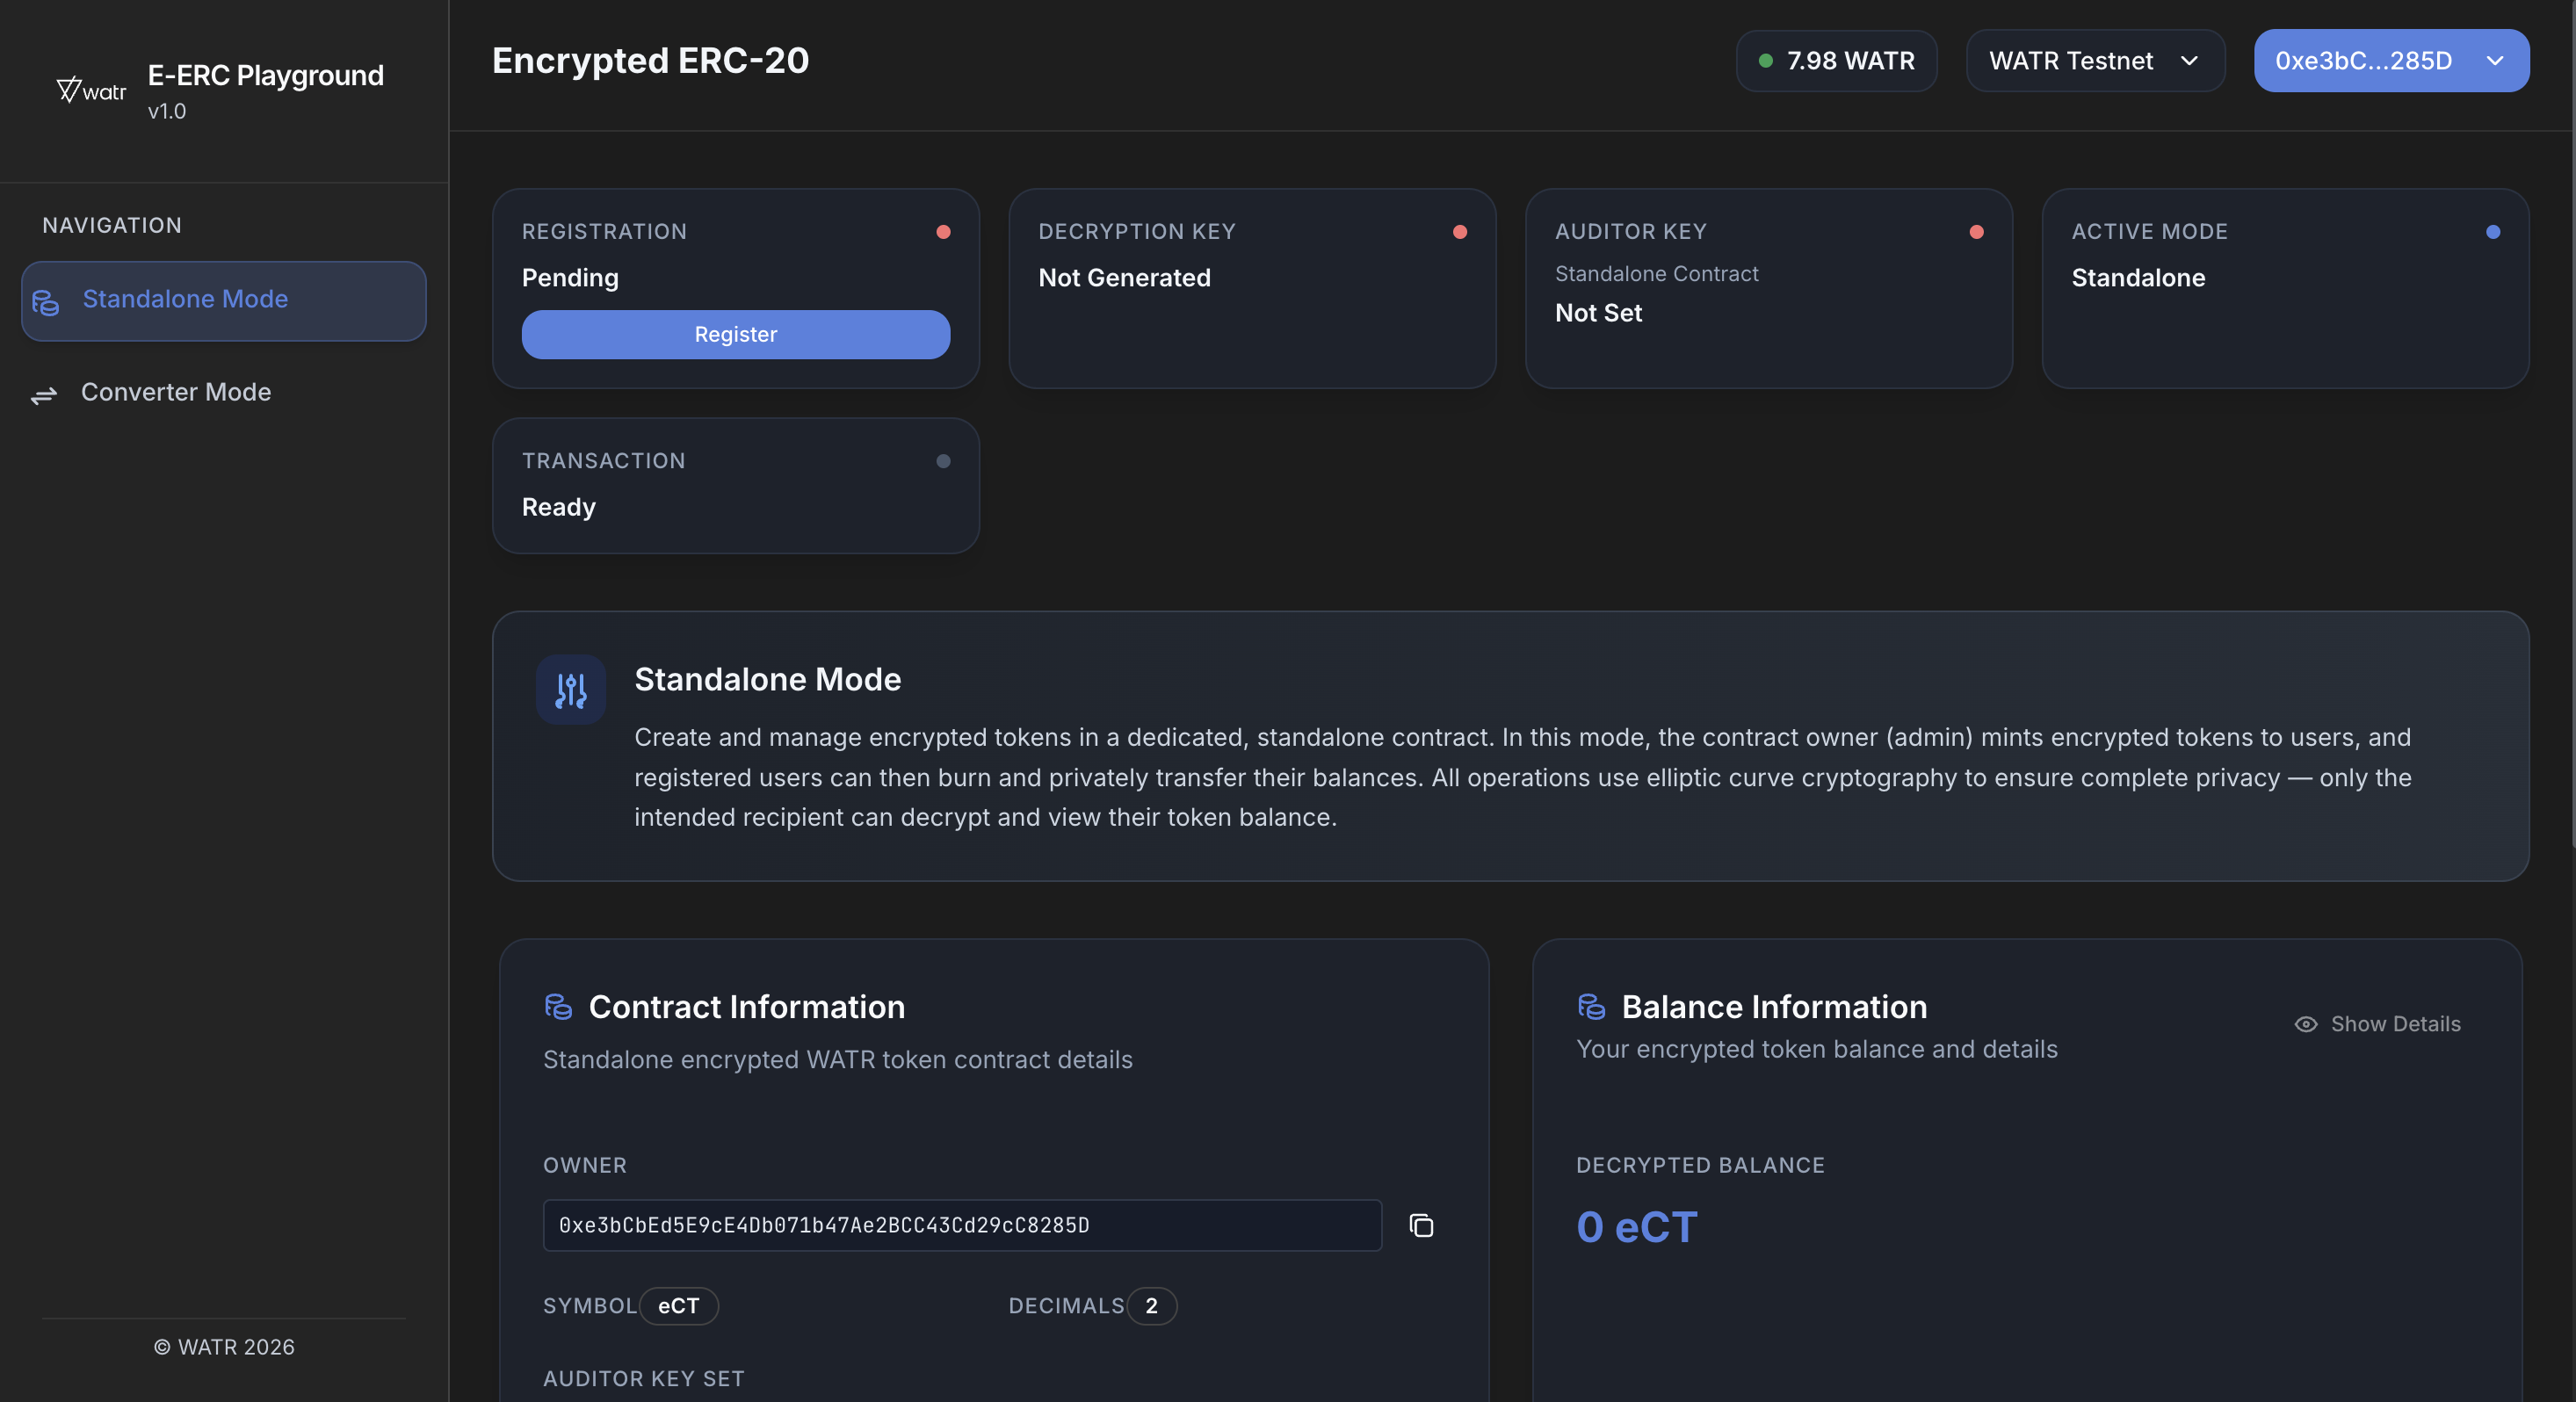
Register your wallet (everyone must do this)
Every new wallet must register once before it can use eERC.
- After you connect, look at the top status cards.
- Find the card named Registration.
- If it shows Pending with a red dot, you are not registered yet.
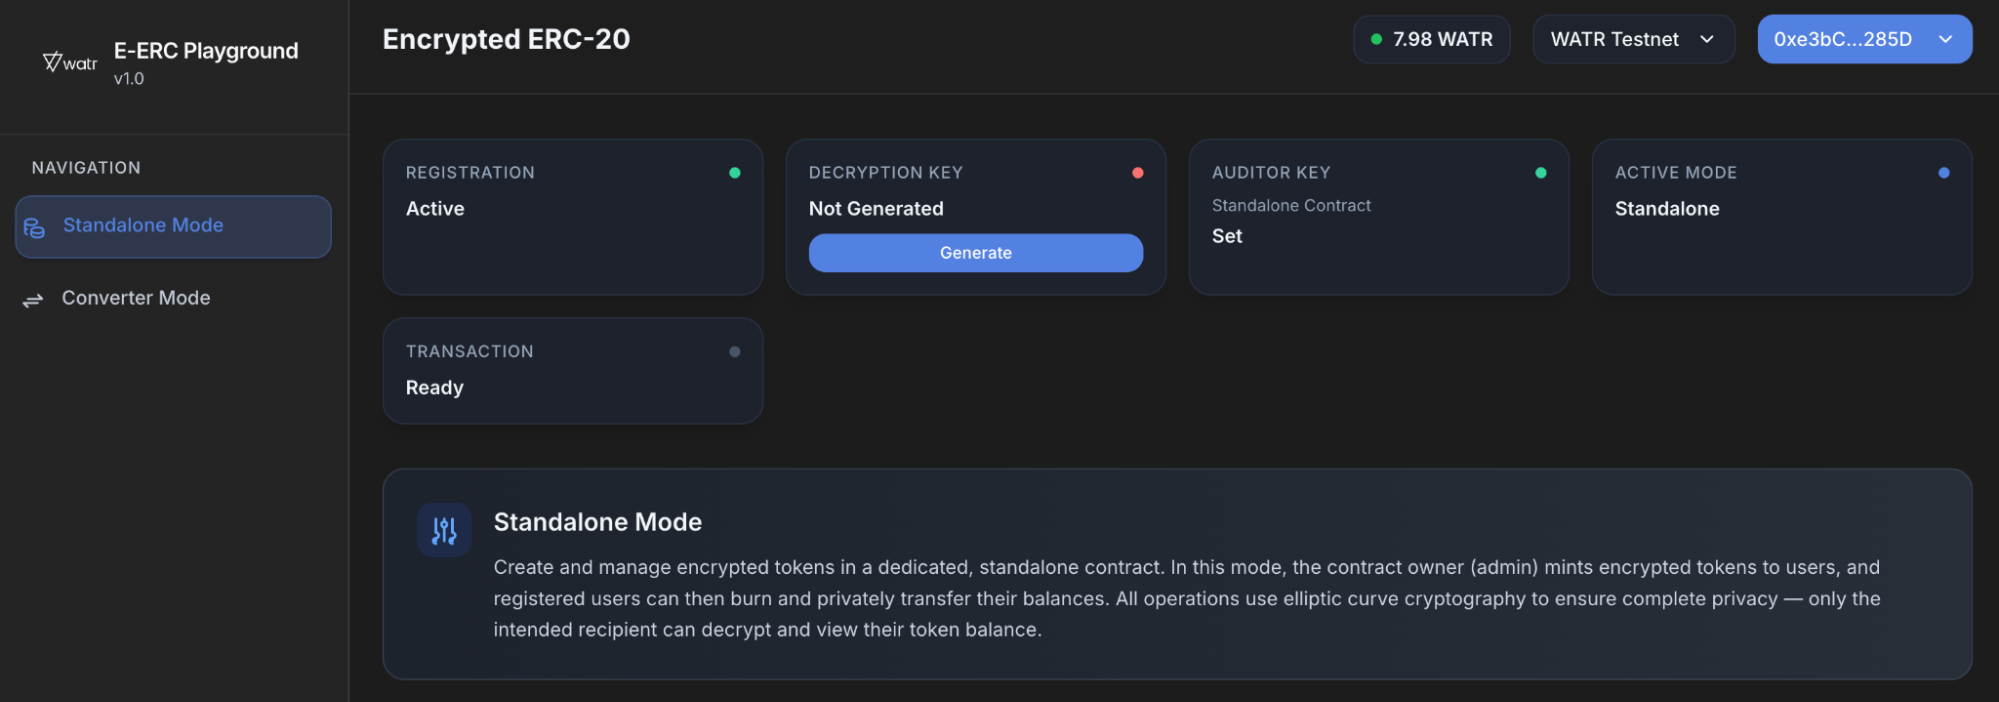
- If it shows Active with a green dot, you are already registered.
- If it is Pending, click the Register button on that card.
- Confirm the transaction in your wallet.
- Wait until:
- The status changes to Active.
- The dot becomes green.

What is the Auditor Key?
- Think of the Auditor Key like a “safety key” for this private token system.
- It tells the contracts which public key is allowed to watch and check encrypted activity if needed.
- Without this key:
- The contracts treat the system as not fully configured.
- Many actions such as mint, deposit, withdraw, transfer are blocked for safety.
- The Owner sets this key once so that:
- The system knows it is correctly set up.
- All users can safely use eERC in both Standalone and Converter modes.
The Auditor Key must be set once for each mode:
- One time for the Standalone contract.
- One time for the Converter contract.
Until this is done, most operations will fail or show an error like:
Auditor key is not set for this contract. Ask the admin to set it before …
Only the Owner wallet can set the Auditor Key
Set Auditor Key for Standalone mode
- Make sure you are using the Owner wallet.
- Switch the app to Standalone mode.
- In the top cards, find the
Auditor Keycard.- It should say Not Set with a red dot.
- Click
Set Auditor Key. - Confirm the transaction in your wallet.
- Wait until:
- The text changes to Set.
- The dot becomes green.
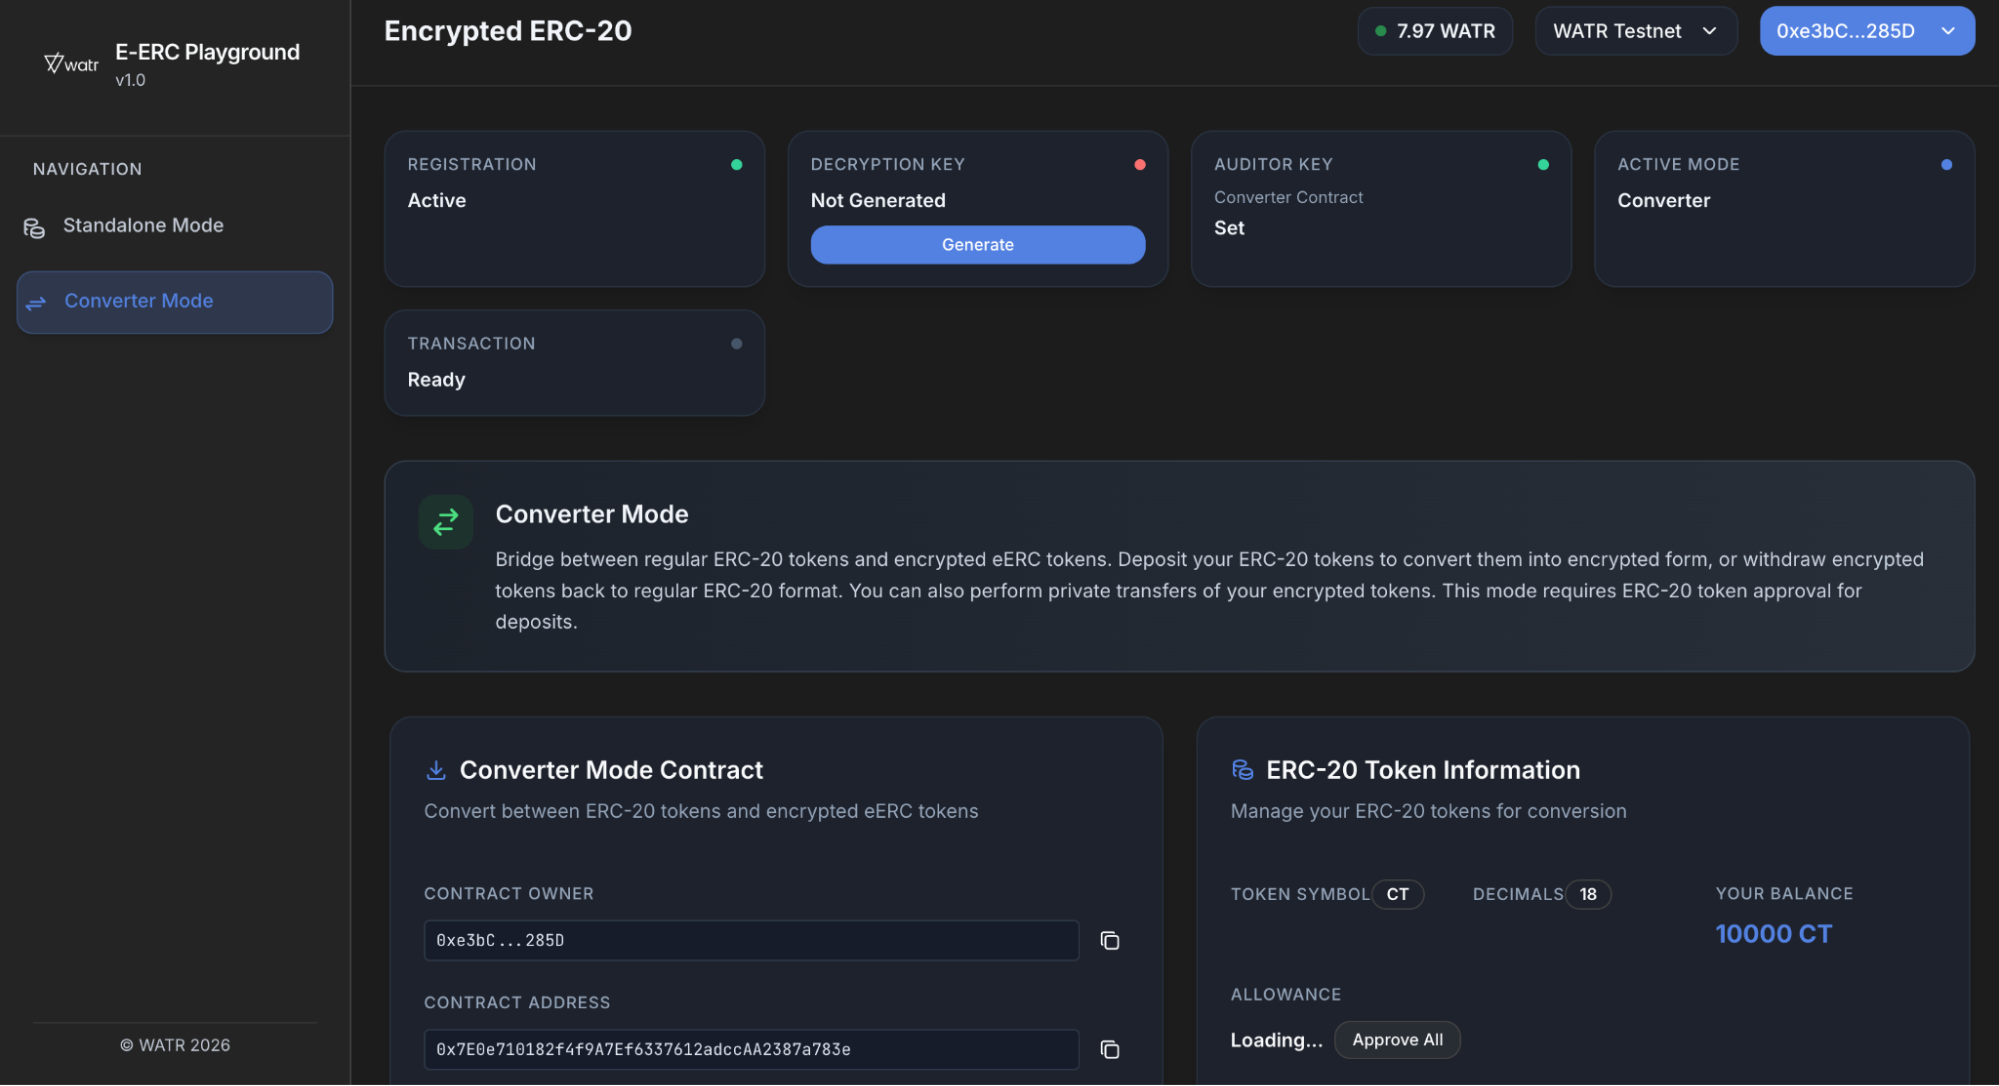
Set Auditor Key for Converter mode
- Still using the Owner wallet, switch the app to Converter mode.
- Again, look at the
Auditor Keycard.- It will again say Not Set the first time (this is a different contract).
- Click
Set Auditor Key. - Confirm the transaction in your wallet.
- Wait until it shows Set with a green dot.
If you are not the Owner, the button will be disabled and may say Only Owner Can Set.
Owner – Starting tokens
After the Owner finishes the setup steps above:
- The Owner will have
10,000tokens minted by default. - These tokens can be used to:
- Test Standalone mode mint/burn/transfer flow.
- Send private transfers to other registered users.
Standalone Mode - Regular User Operations
In Standalone mode, tokens only exist inside the eERC contract.
Important rules:
- Only the Owner can mint (create) new tokens.
- Other wallets cannot mint. If they try, they will see an error.
Switch to Standalone mode
- Use the mode control/tabs to select Standalone mode.
- Check that the Active Mode status card says standalone.
Receive tokens from the Owner
- As a regular user:
- Your balance will start at
0in Standalone mode. - The Owner must first send you some tokens using a private transfer.
- Your balance will start at
- Once the Owner sends you tokens:
- Your Decrypted Balance card will show a positive amount.
- You can now:
- Transfer tokens to another registered user.
- Possibly burn tokens if the contract allows non‑owners to burn
Owner Minting:
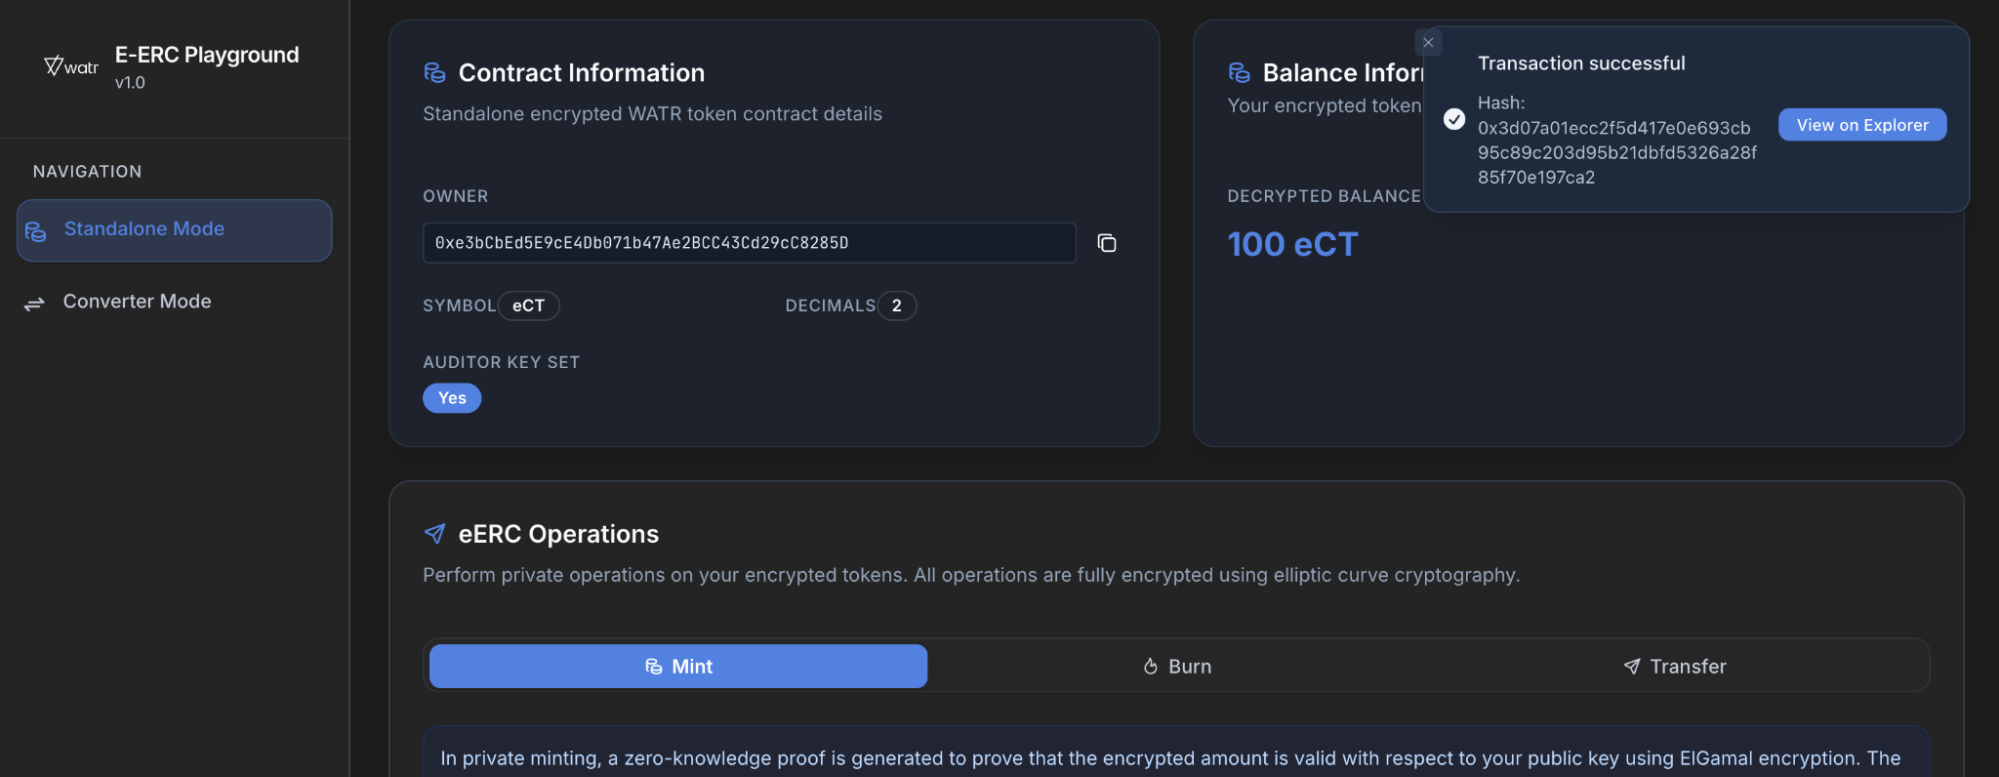
Alice after receiving token from bob :
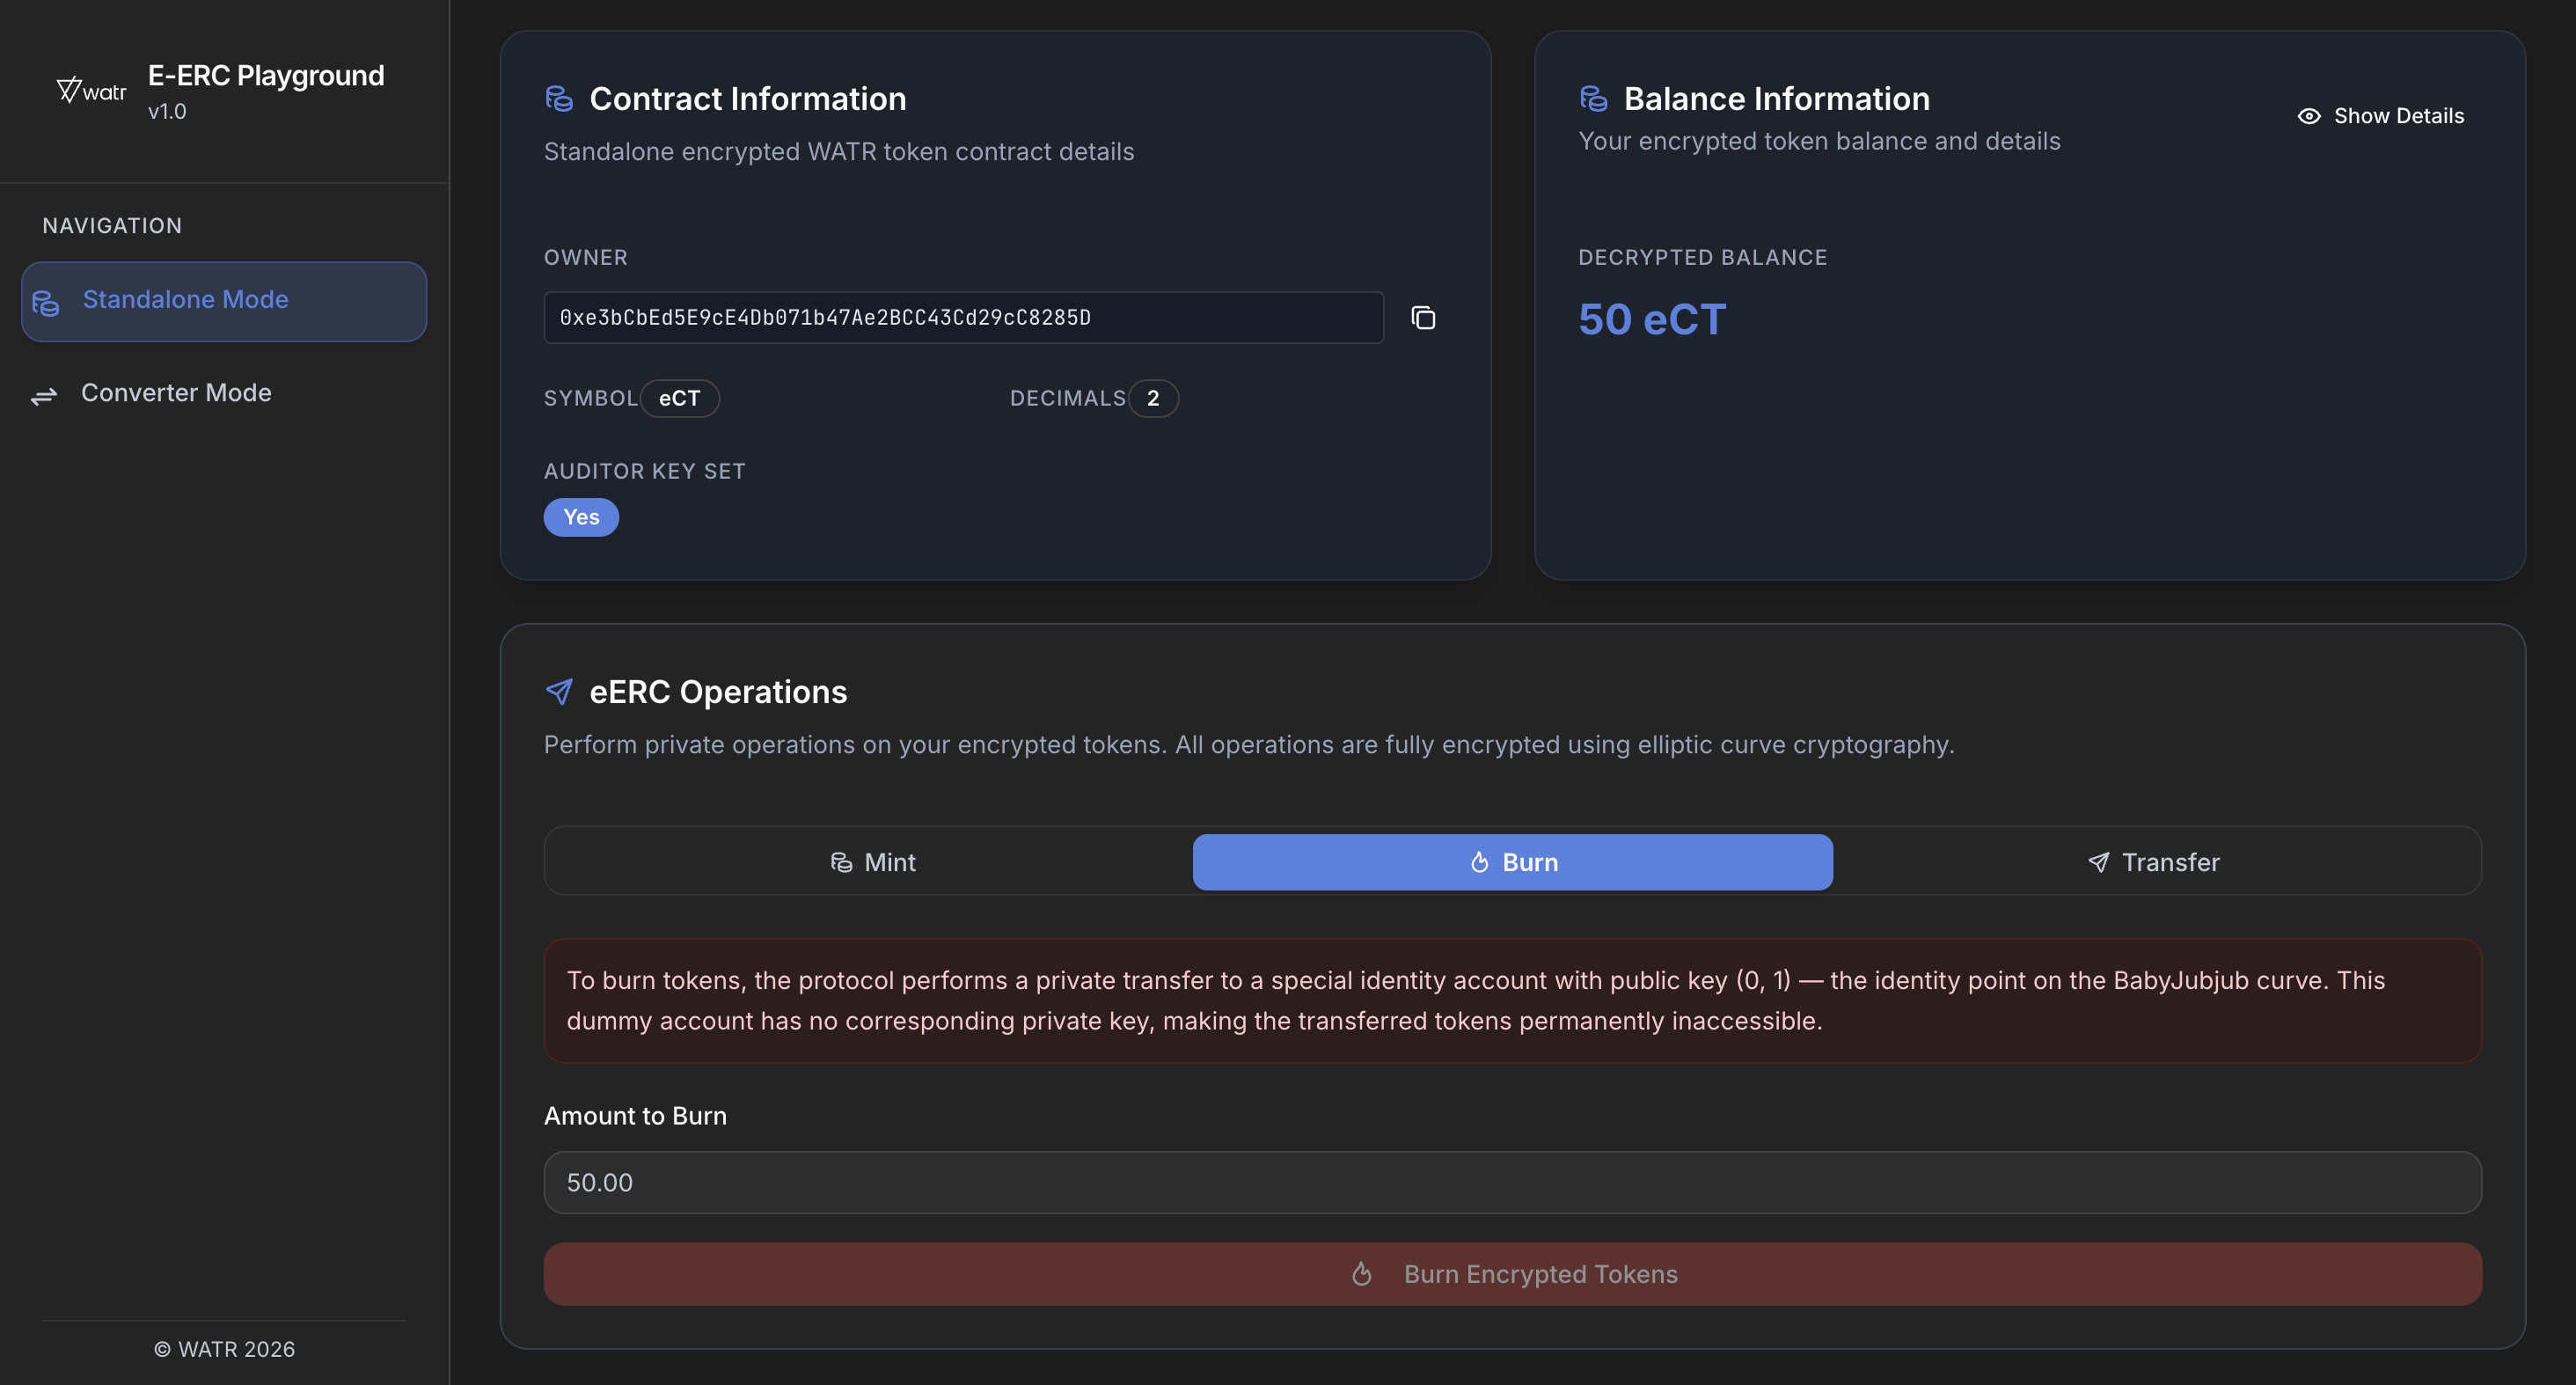
Burn and transfer (non‑owner)
-
Transfer:
- Works similar to Converter mode:
- Choose Transfer tab.
- Enter recipient address and amount.
- Confirm the transaction.
- Works similar to Converter mode:
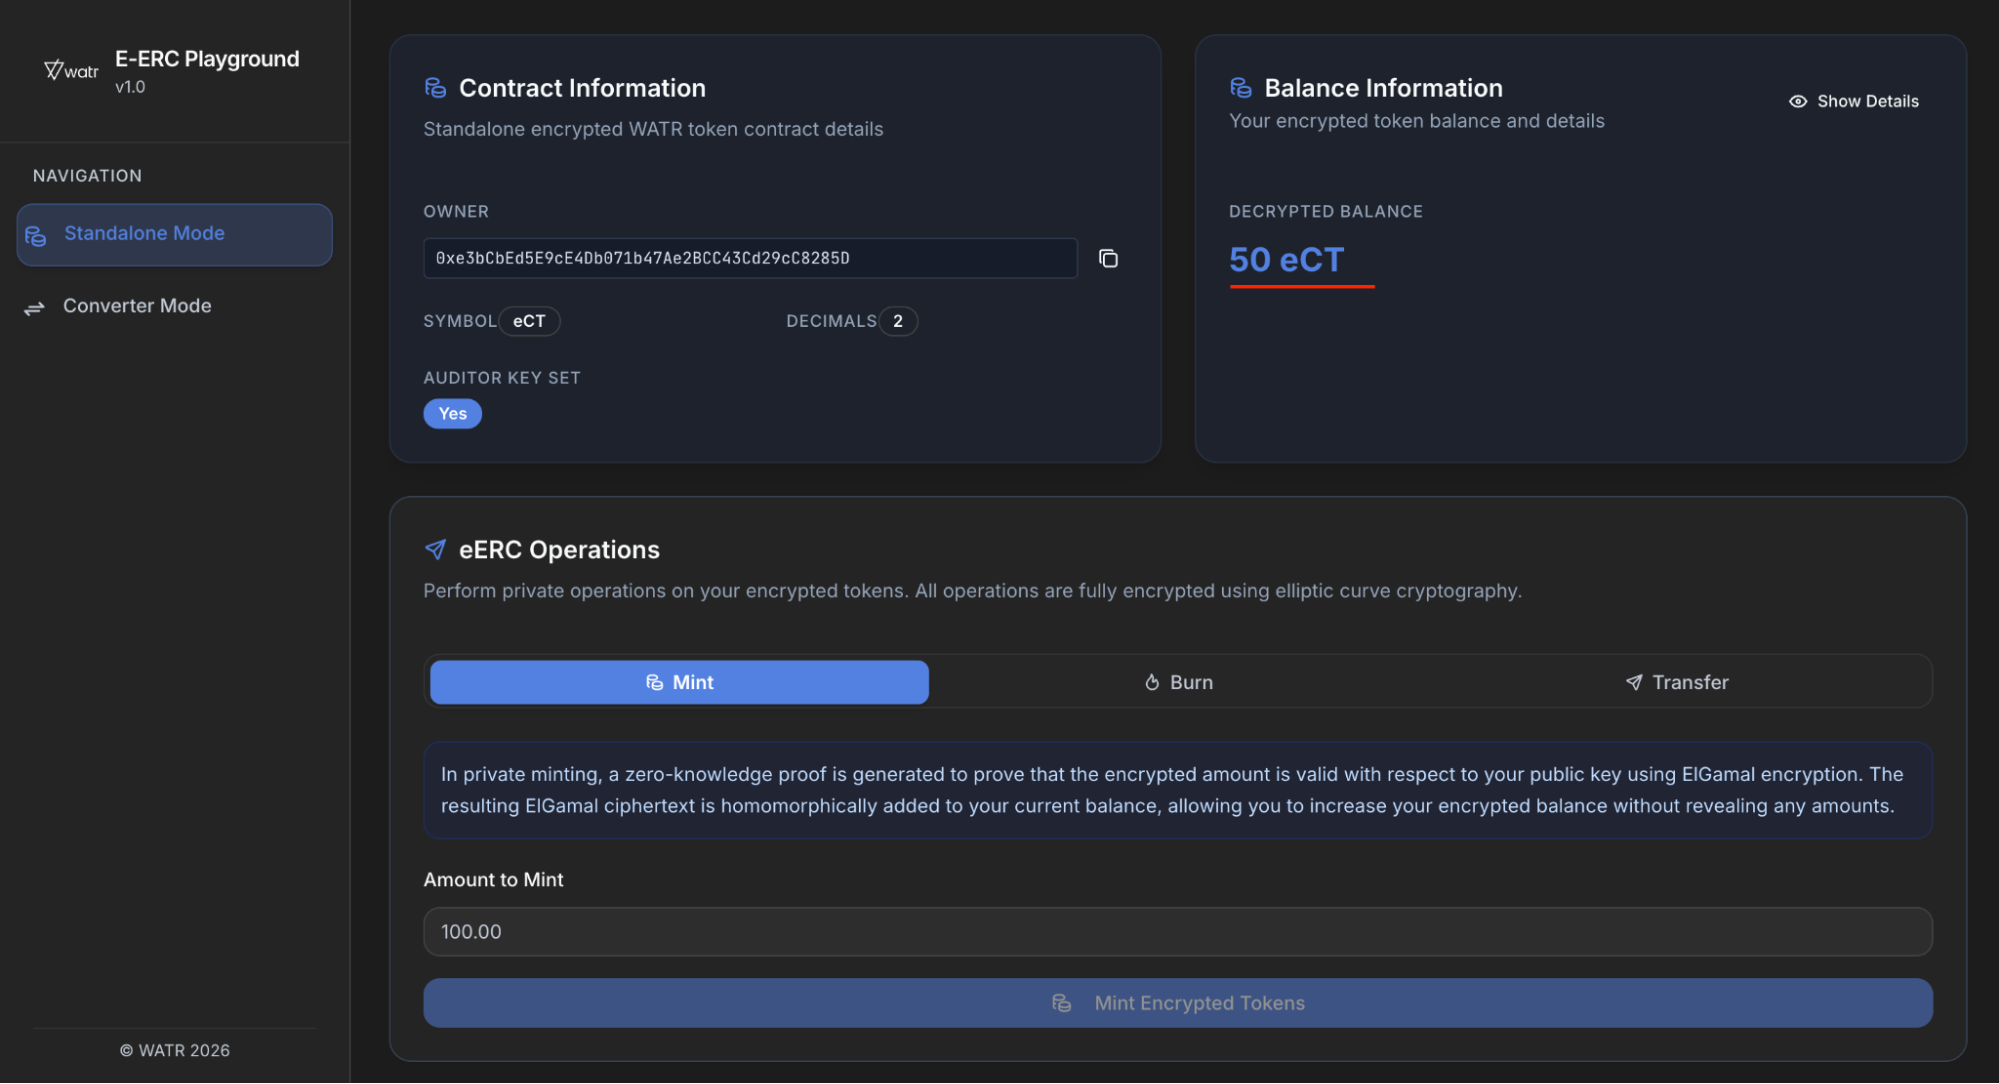
-
Burn:
- Enter tokens to burn and they are gone forever.
- Use the Burn tab, enter amount, and confirm.
- Your balance goes down.
in Standalone mode, you cannot mint unless your wallet is the Owner.
As the Owner in Standalone mode, you can:
- Mint new tokens.
- Burn your own tokens.
- Transfer tokens to any registered user.
Converter Mode - Regular User Operations
Now let’s focus on Converter mode for a regular user.
In Converter mode you work with:
- A normal ERC‑20 token (Copper Token).
- Its encrypted version inside the eERC contract.
Switch to Converter Mode
- Use the mode control/tabs to select Converter mode.
- Check that the Active Mode status card says converter.

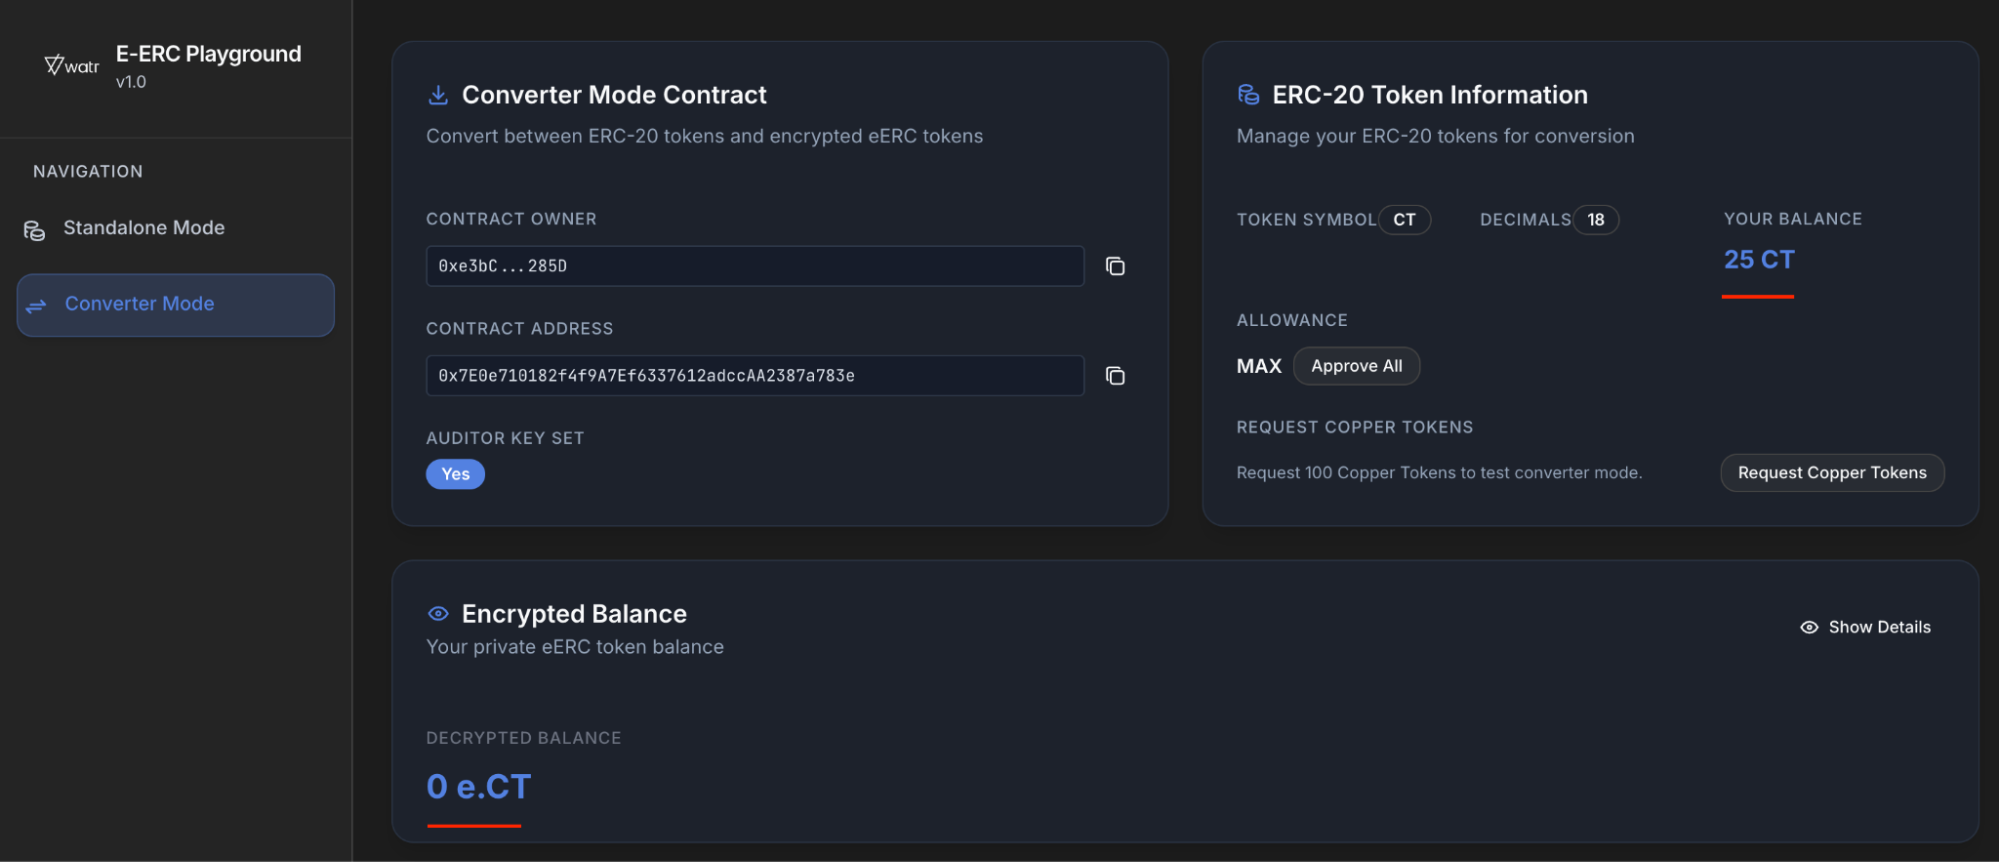
Request Copper tokens (faucet)
New users start with 0 Copper tokens. To get some:
- In Converter mode, find the card called
ERC‑20 Token Information. - Look for the section
Request Copper Tokens. - Click the
Request Copper Tokensbutton. - Confirm the transaction in your wallet.
- After it is confirmed:
- Your
Your Balancefield should show something like100.00(Copper tokens).After successful token :
- Your
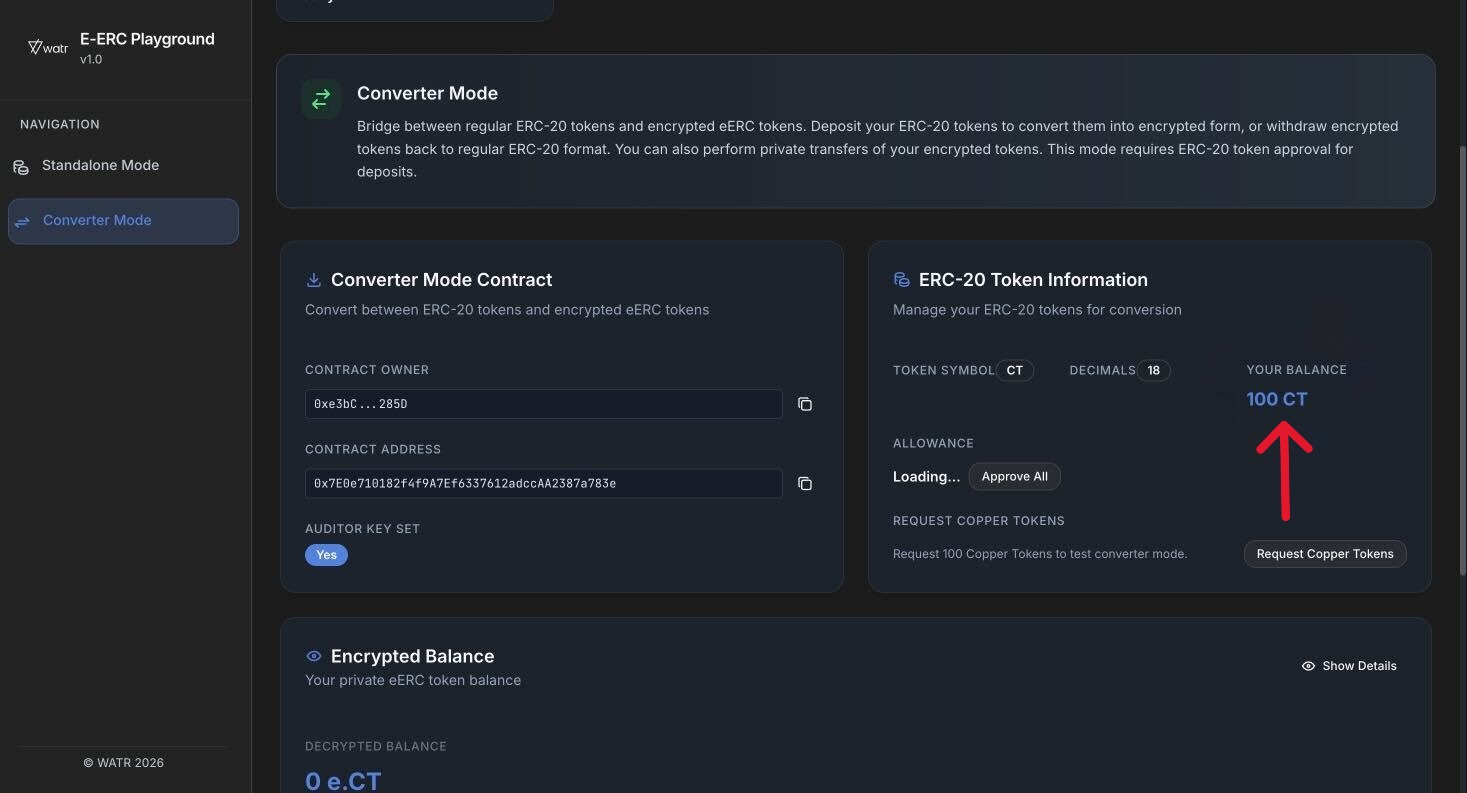
Approve the Converter contract (Allowance)
Before the Converter contract can move your ERC‑20 tokens, you must give it permission (allowance).
- Still in the ERC‑20 Token Information card, find the
Allowancerow. - Click the
Approve Allbutton. - Sign/confirm the transaction in your wallet.
- Wait until:
- The
Allowancetext changes toMAX.
- The
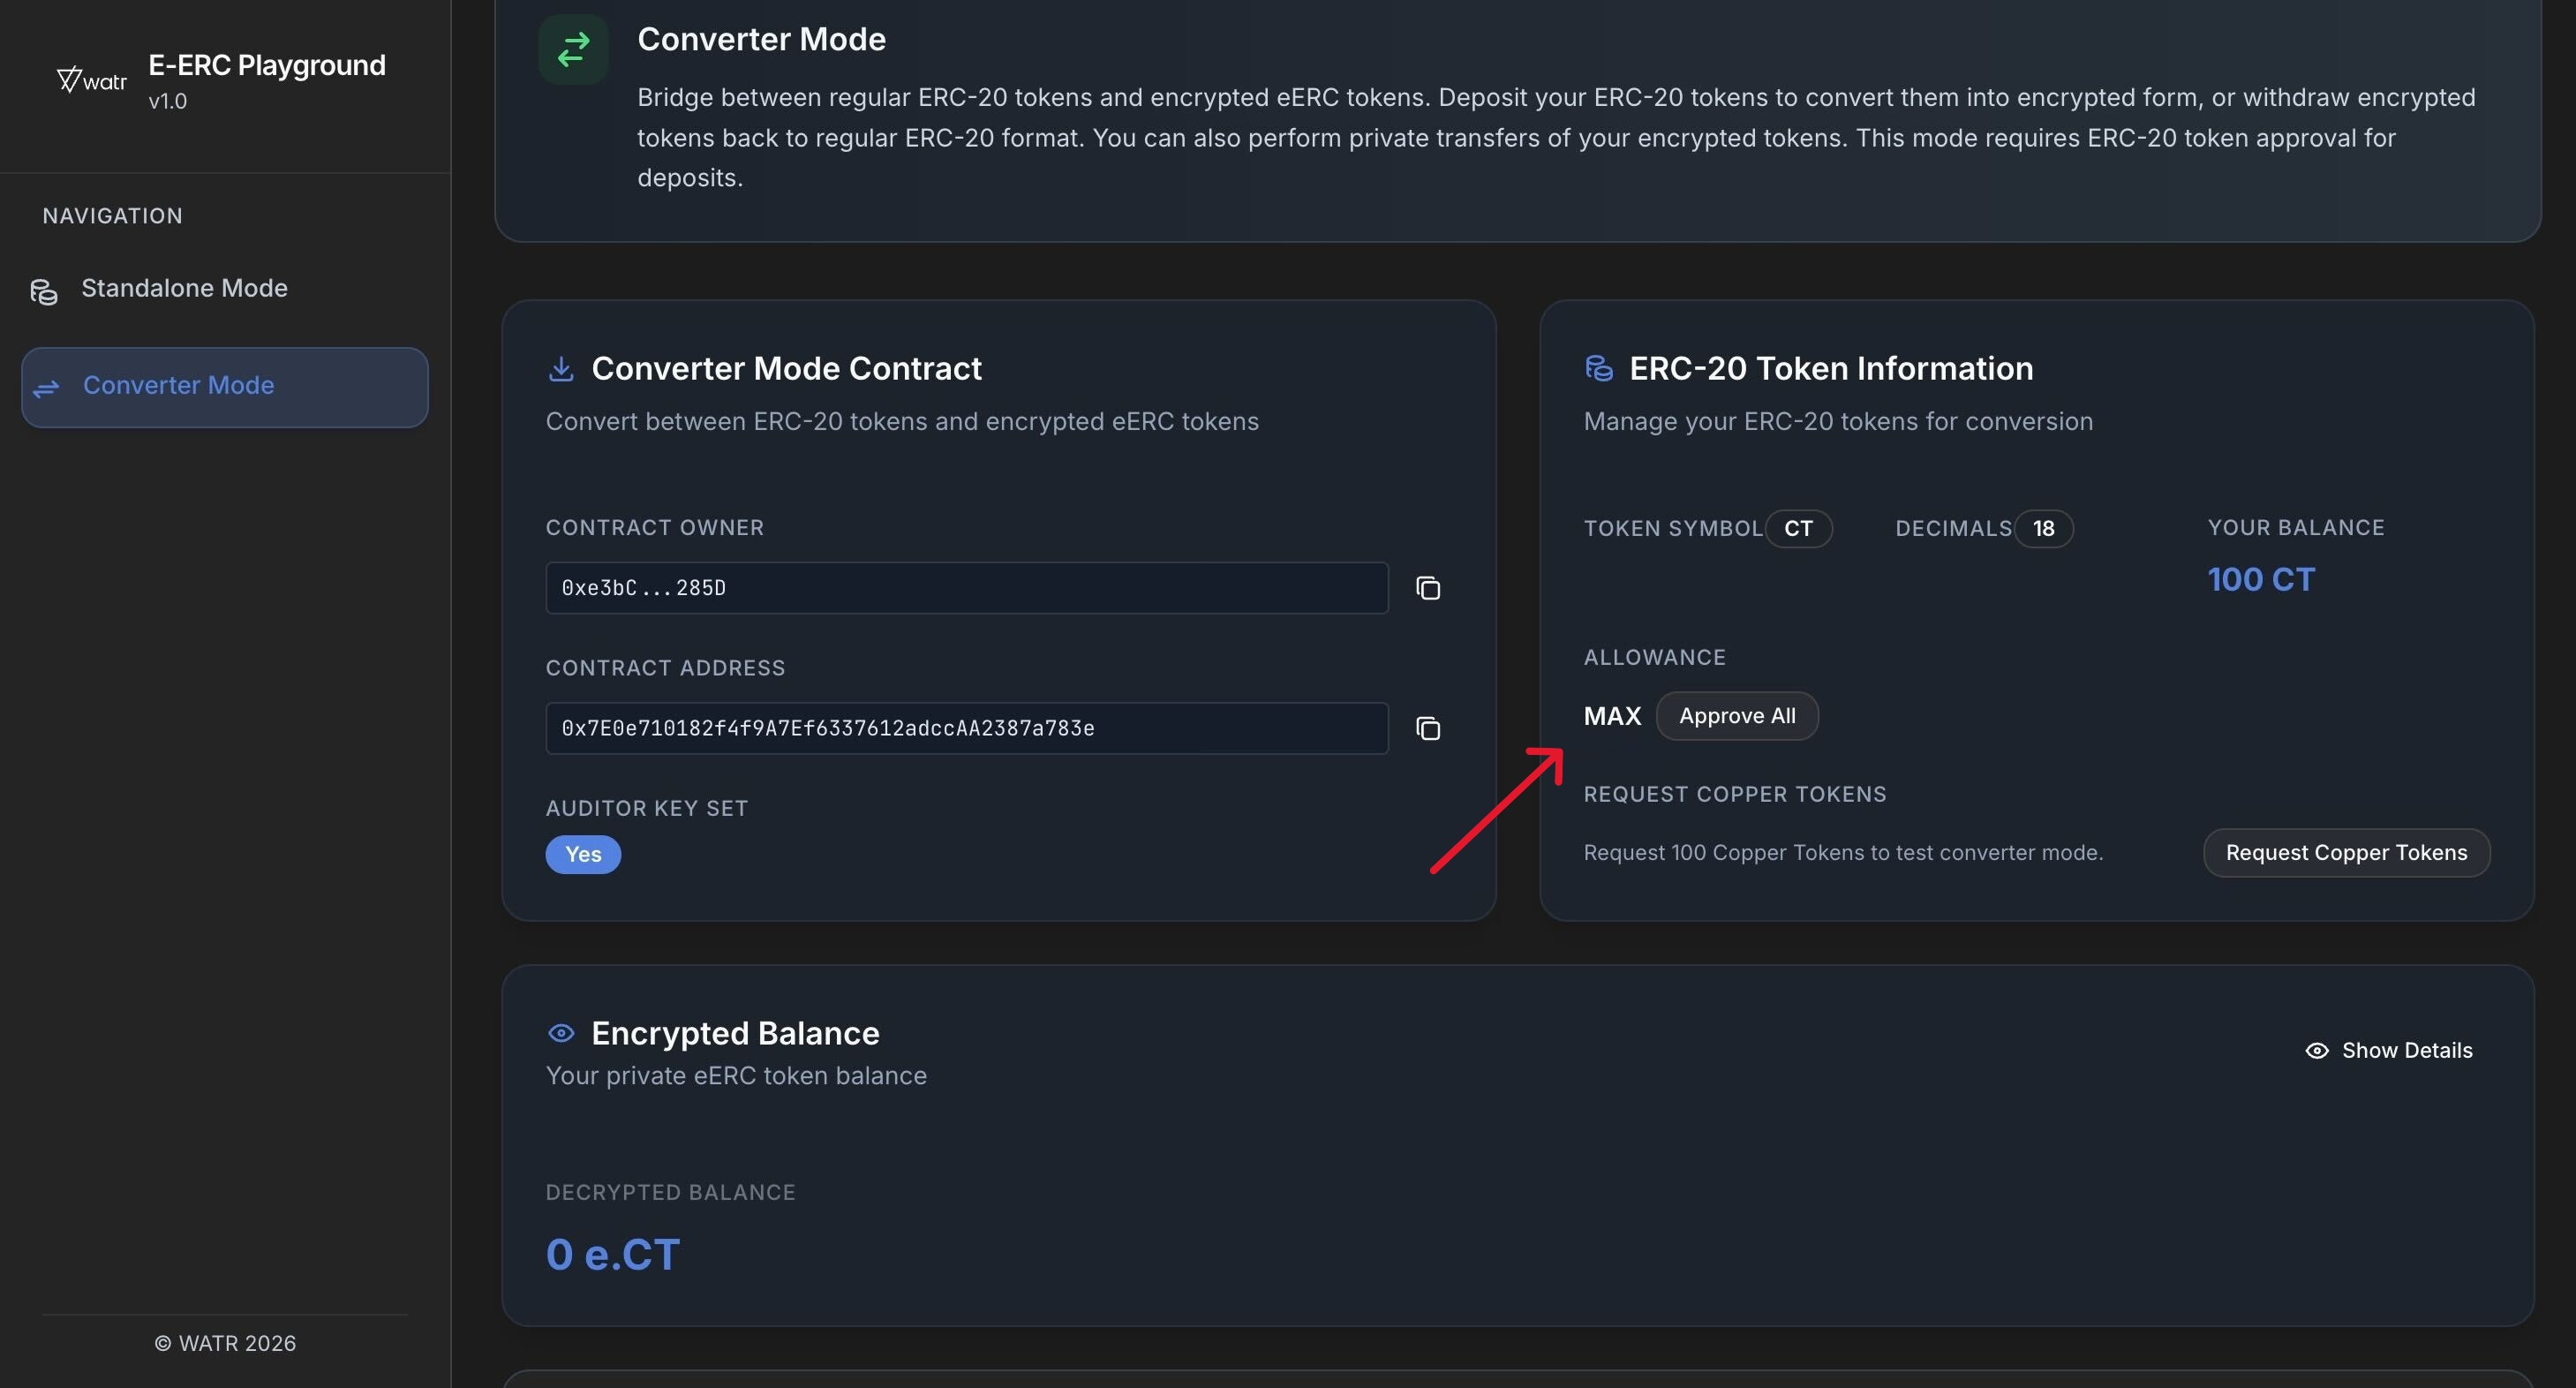
This step is required so you can:
DepositERC‑20 into encrypted form.Withdrawback.- Use private transfers in Converter mode.
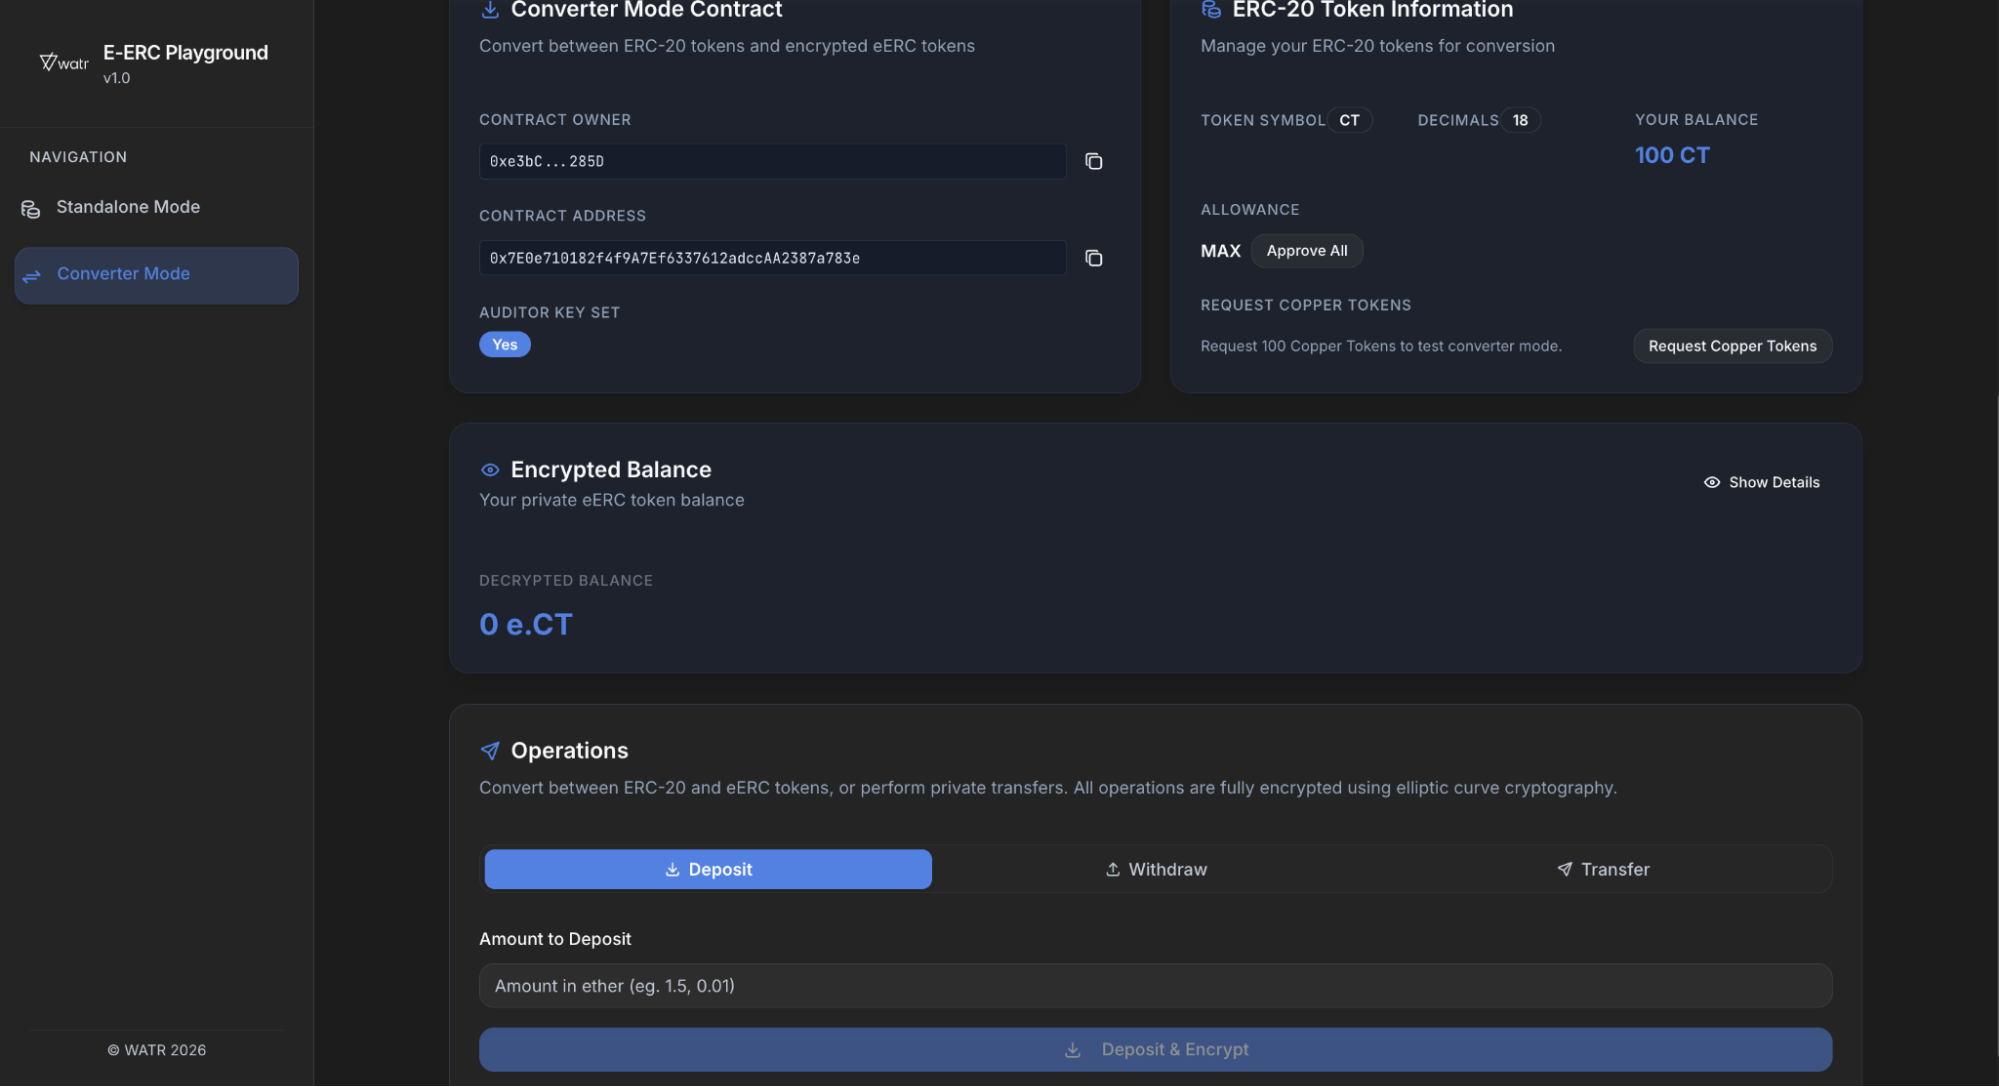
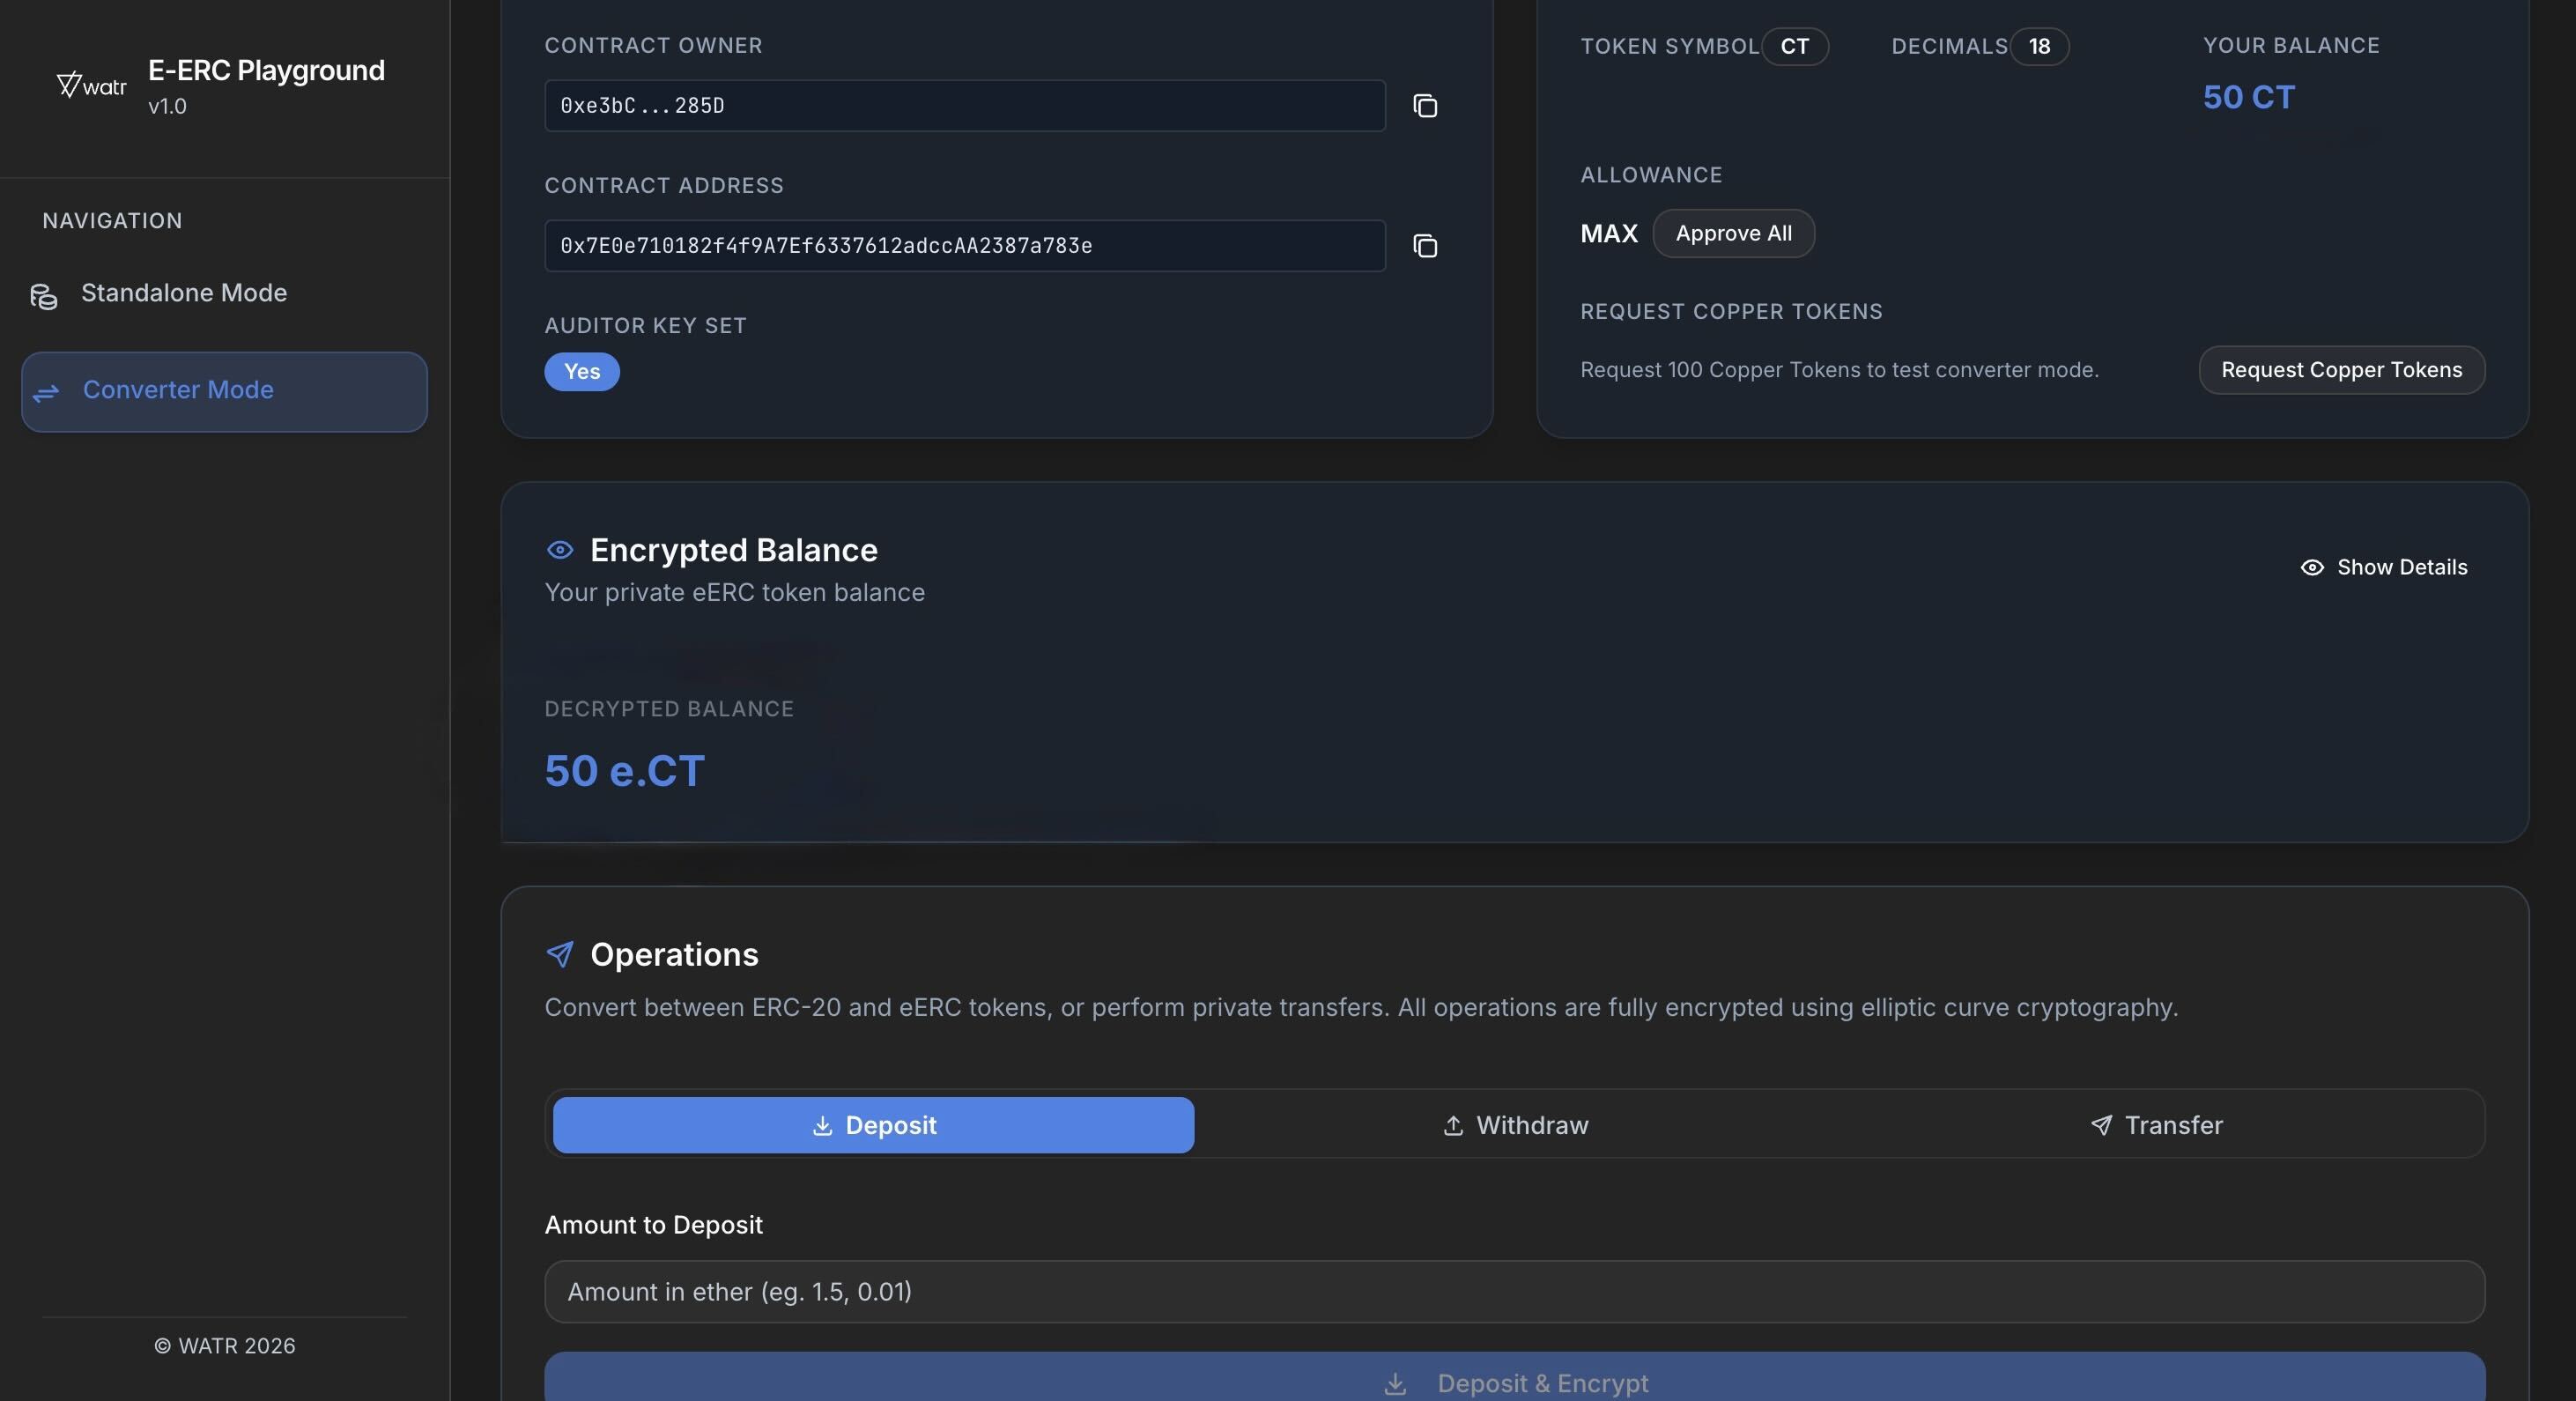
Deposit – Convert ERC‑20 to encrypted tokens
Now you can deposit some of your Copper tokens into the encrypted contract.
- In Converter mode, scroll down to the big card titled
Operations. - Click the
Deposittab. - In
Amount to Deposit, type how many tokens you want to deposit, for example 10. - Click
Deposit & Encrypt. - Confirm the transaction in your wallet.
- Watch the
Transactionstatus card at the top:- It should show
Pendingand say something likePrivate Depositing.
- It should show
- Once it is done:
- Your
ERC‑20 balance(Copper tokens) will godown. - Your
Encrypted Balancecard will show ahigherencrypted balance.
- Your
Before Deposit:
After Deposit:
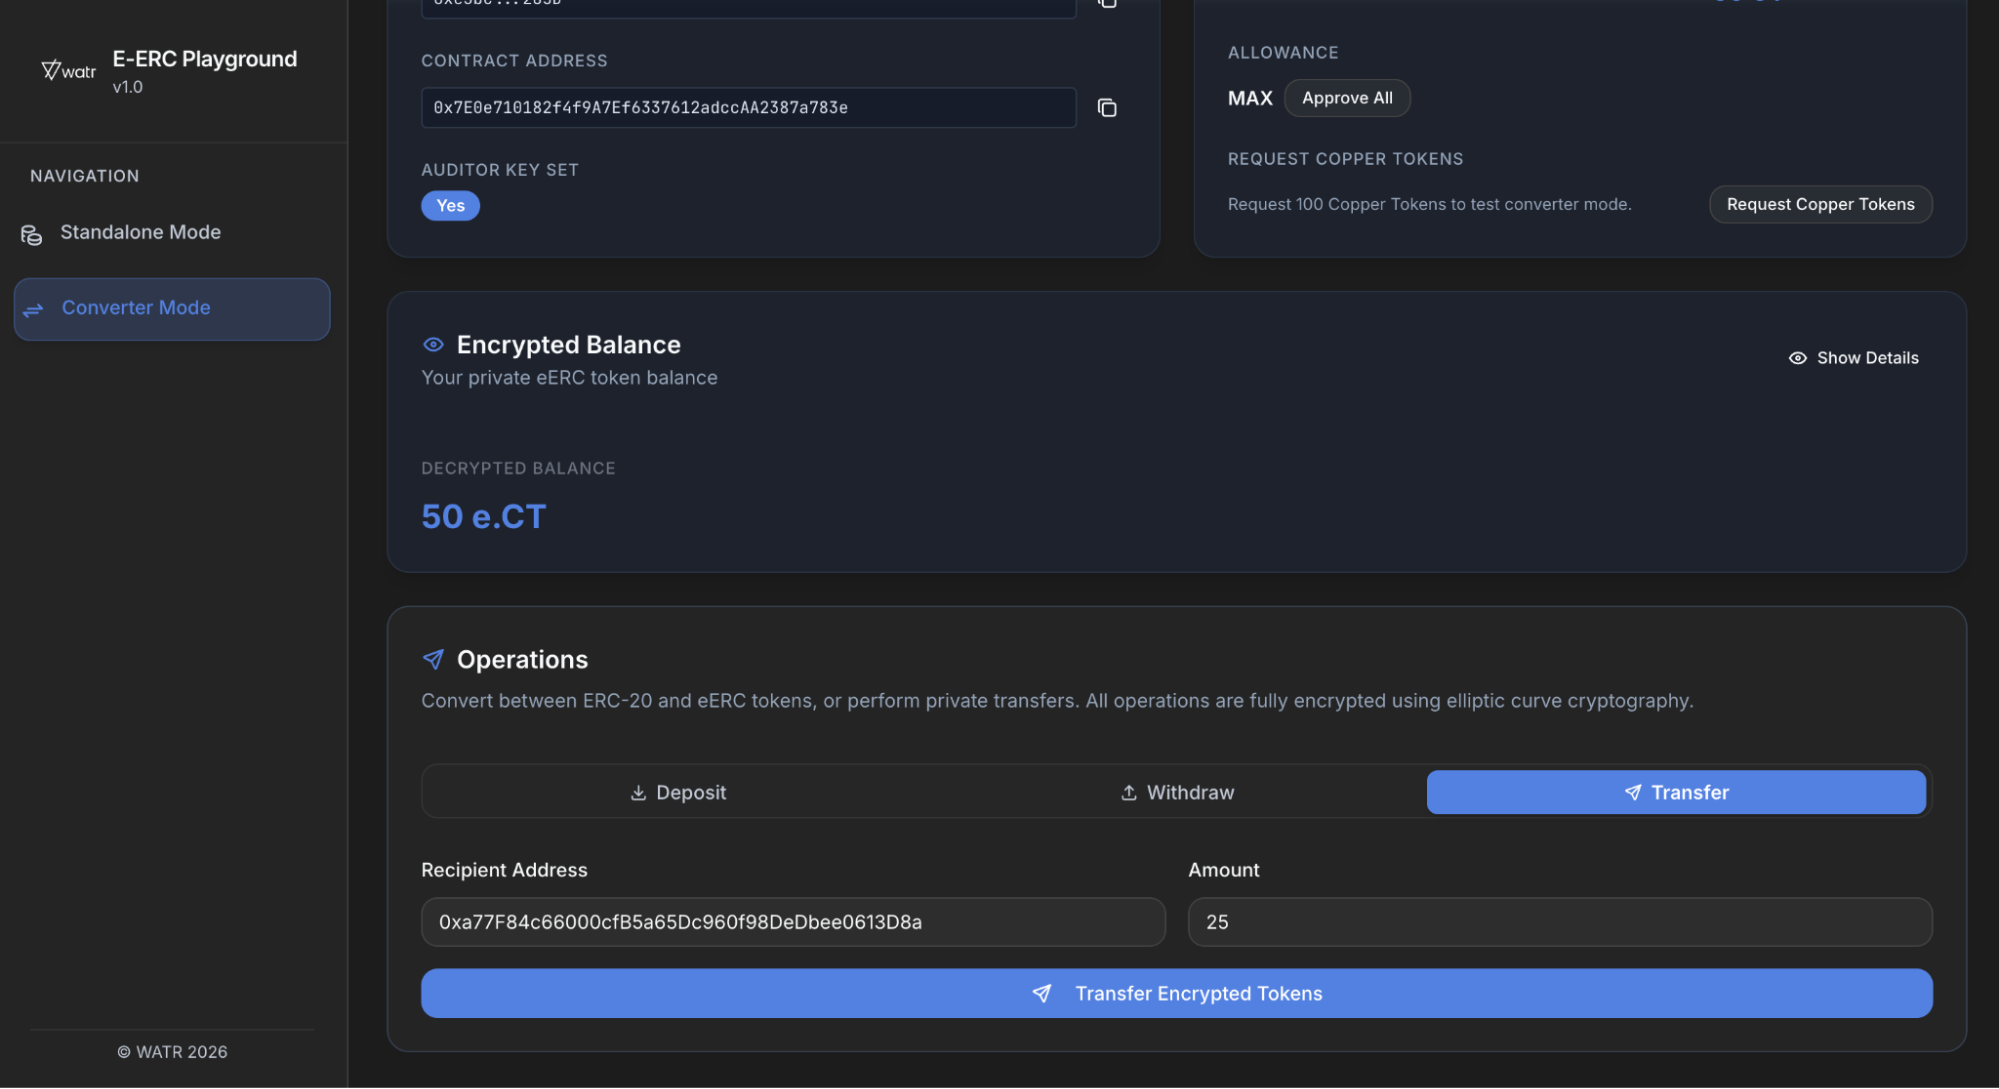
Private transfer in Converter mode
You can send encrypted tokens to another registered user.
Before you transfer:
- Make sure the recipient wallet has:
- Clicked
Connect. - Clicked
Register(Registration = Active). - Clicked
Generate(Decryption Key = Generated).
- Clicked
Then:
- In the
Operationscard, click theTransfertab. - In
Recipient Address, paste the other user’s wallet address (0x...). - In
Amount, type how many encrypted tokens you want to send. - Click
Transfer Encrypted Tokens. - Confirm the transaction in your wallet.
- After it confirms:
- Your
Encrypted Balancegoes down. - The recipient’s
Encrypted Balancegoes up (on their screen).
- Your
If the recipient is not registered, you will see an error like Recipient is not registered and the transfer will not go through.
Sender Alice's balance before Transfer:
Sender Alice's balance after Transfer:

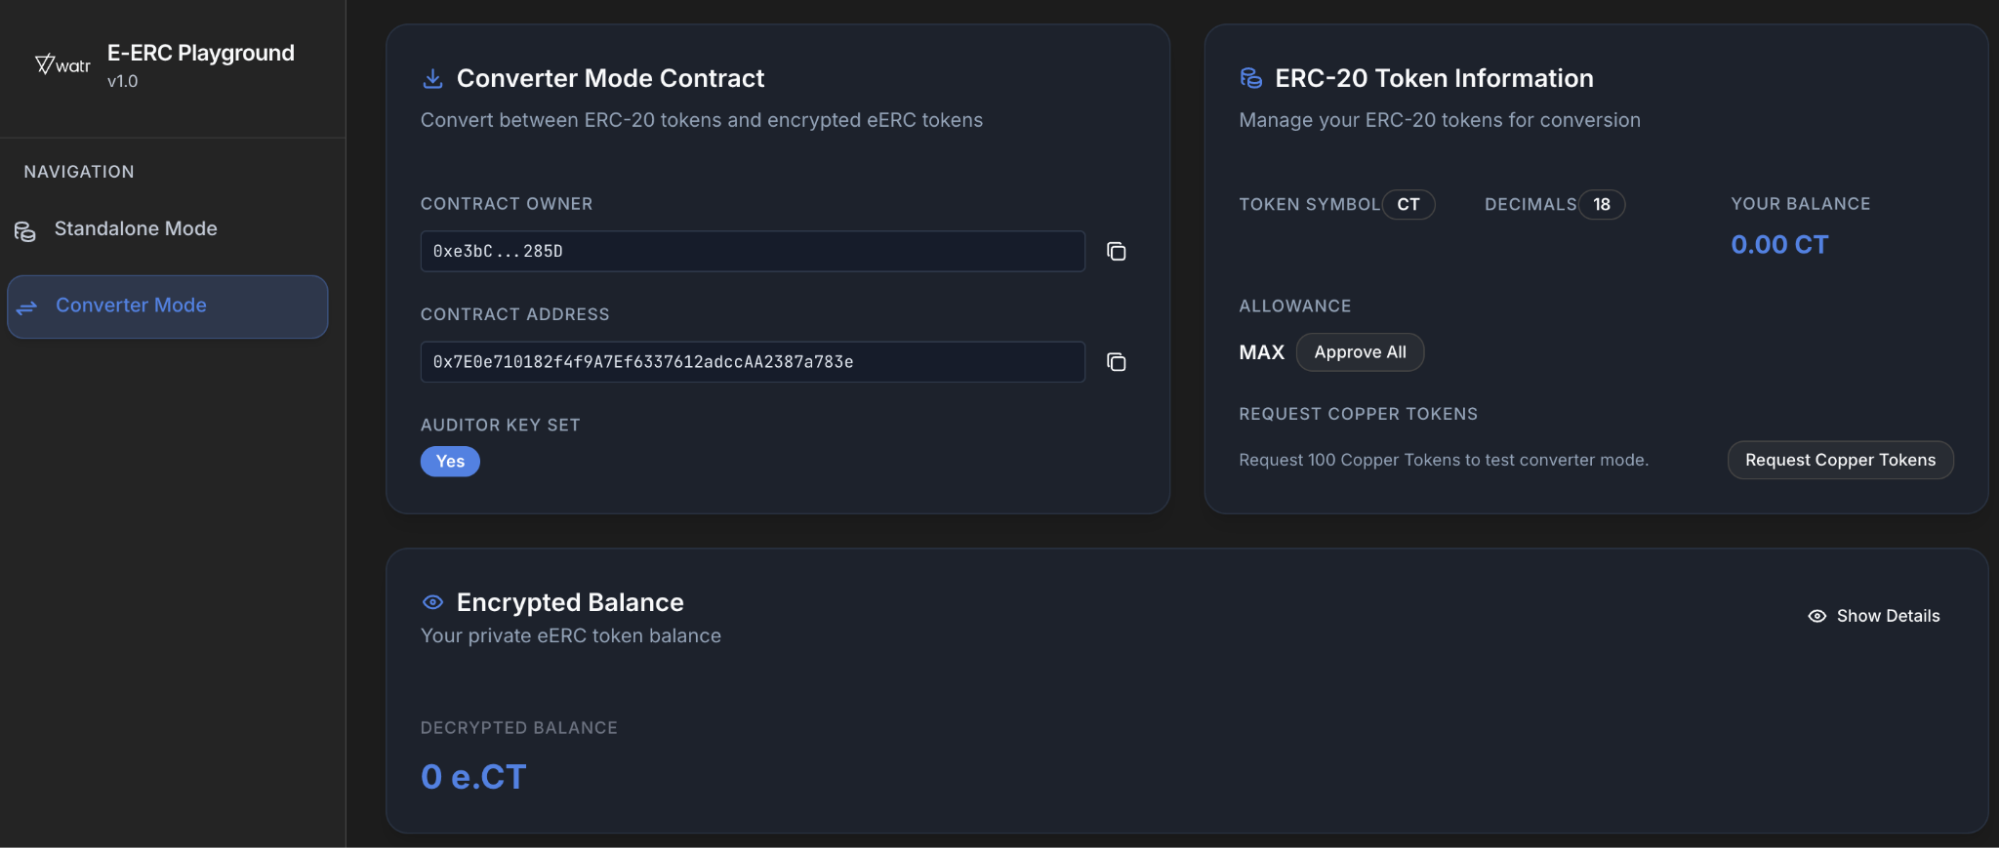
Recipient Bob's balance before Transfer:
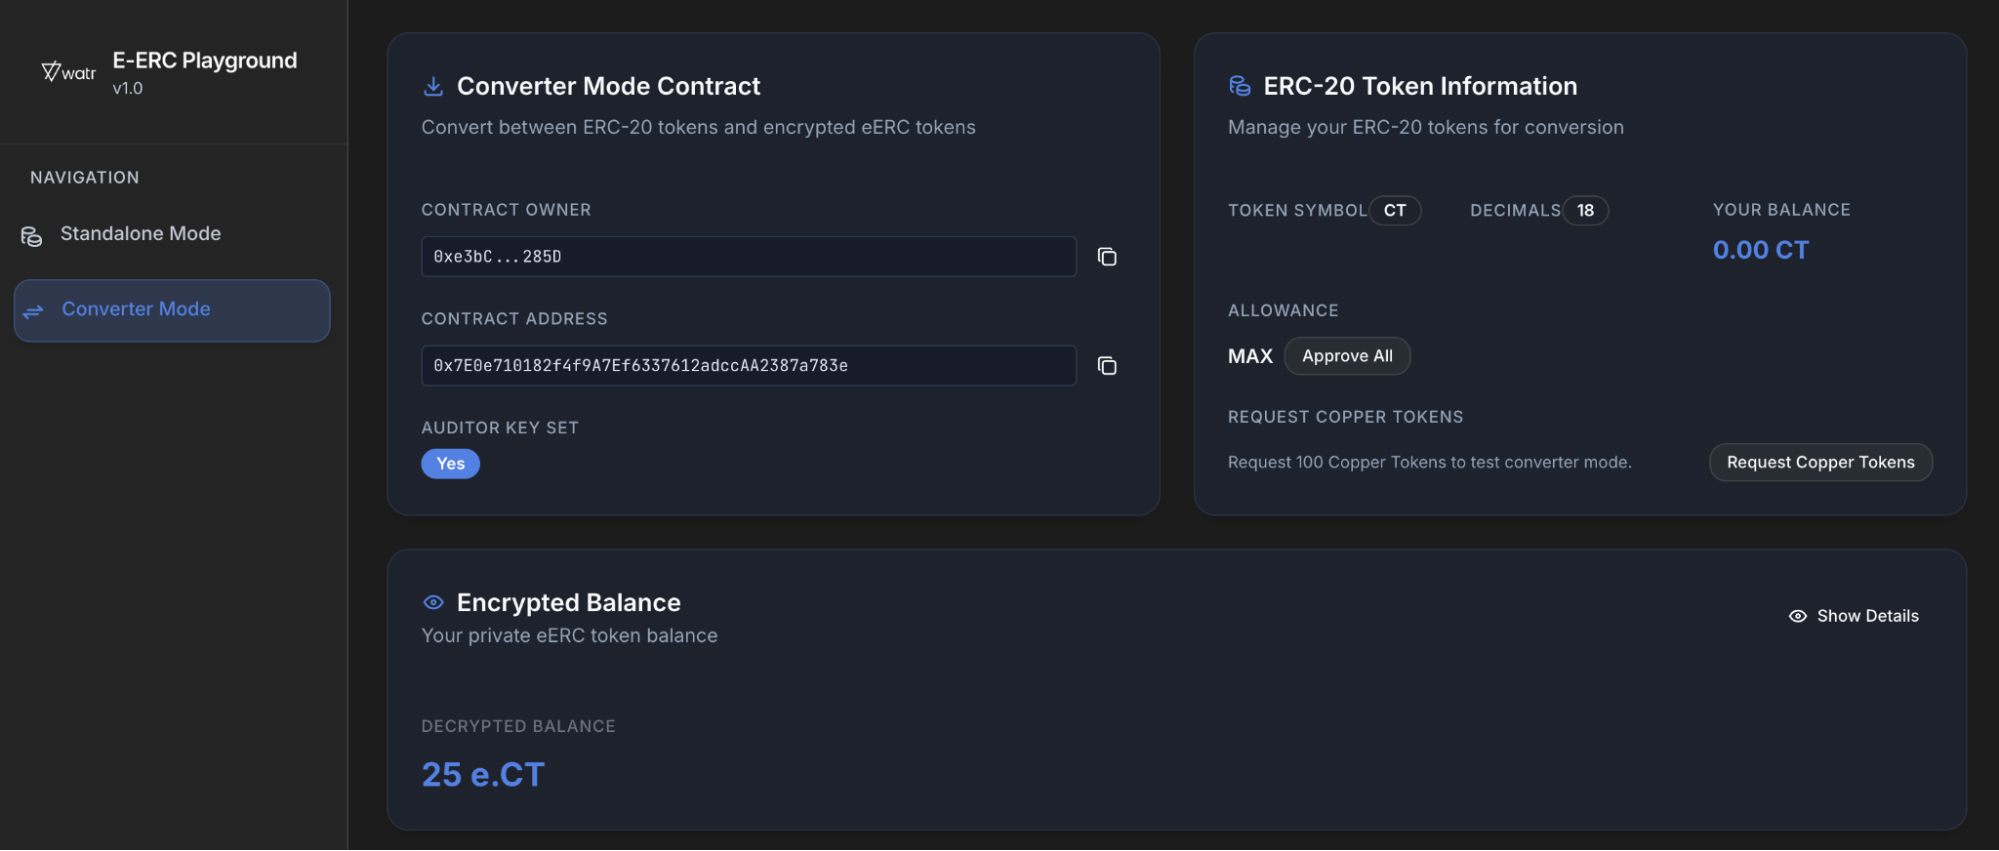
Recipient Bob's balance after Transfer:
Withdraw – Convert encrypted tokens back to ERC‑20
You can also go back from encrypted tokens to normal ERC‑20.
- In the
Operationscard, click theWithdrawtab. - In
Amount to Withdraw, type the amount. - Click
Decrypt & Withdraw. - Confirm the transaction in your wallet.
- After it is confirmed:
- Your
Encrypted Balancegoes down. - Your
ERC‑20 balanceincreases.
- Your
Bob's ERC-20 balance before Withdrawing:

Bob's ERC-20 balance after Withdrawing: